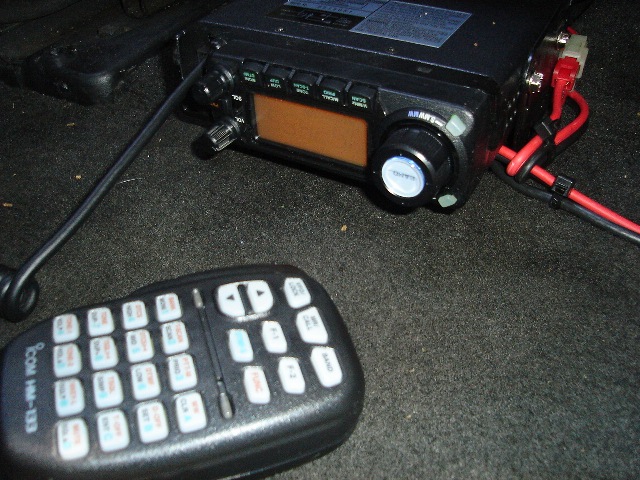
Installing Dual Band Icom IC-208H ham radio in the 2006 Monte Carlo
Chat on the road, monitoring and safety. Gotta have a transceiver in the car. Since this car is the first 'all mine' car in a while (since having a company truck..) I am having fun personalizing it and not worrying about others driving it.
Son says the setup makes it look like some kind of undercover narc car.
First step was to route power to the radio location - under the passenger seat. I could have went from the battery straight to the mount point, but I wanted to plan for the future. Linear amp, giant subs, who knows. I'm running some 4 gauge wire from the battery all the way to the trunk.
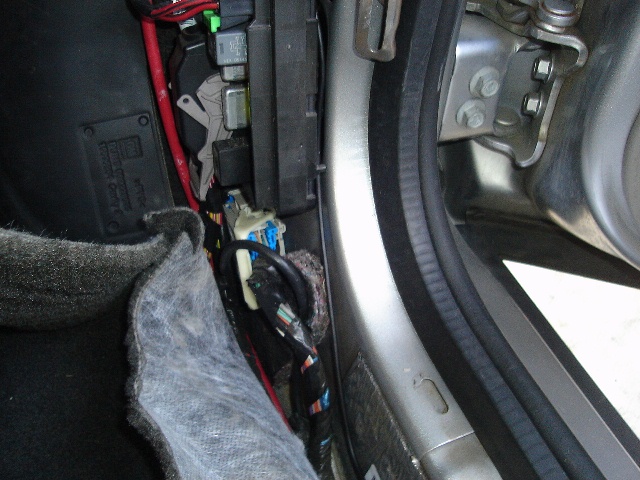
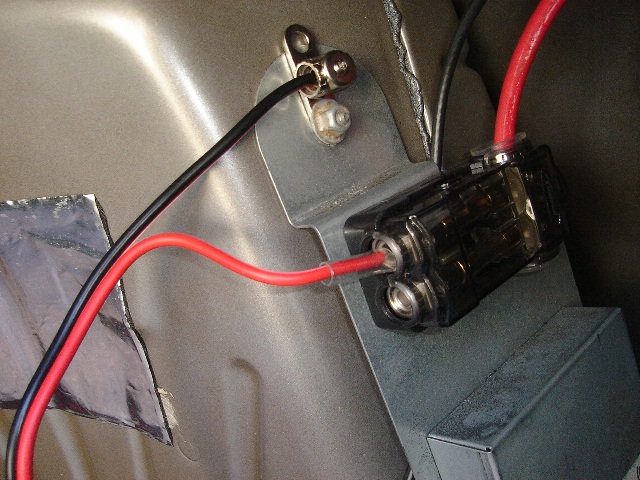
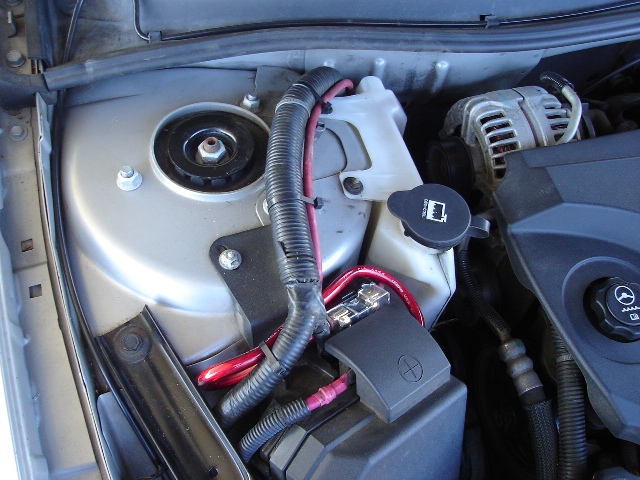
12 volts at the battery post of the fuse block, added my own 30A fuse.
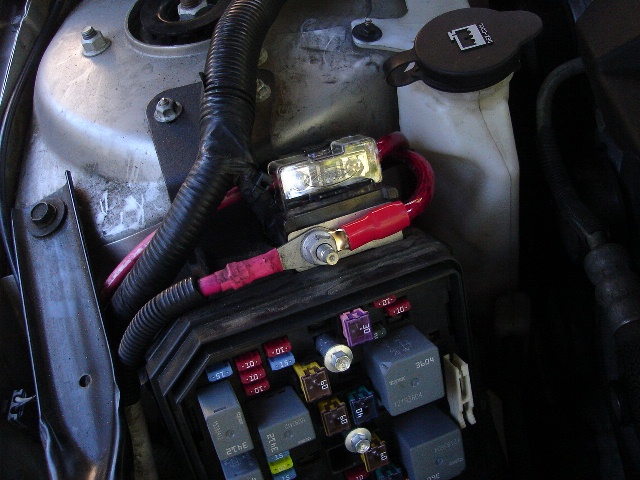
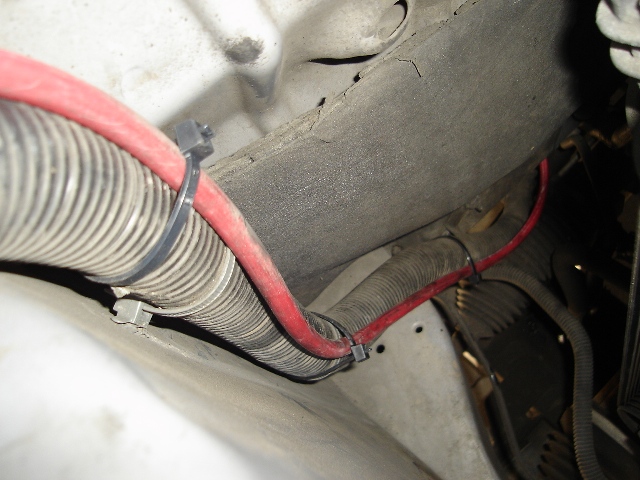
Fusebox covered. My power lead follows the rest of the bundle . .
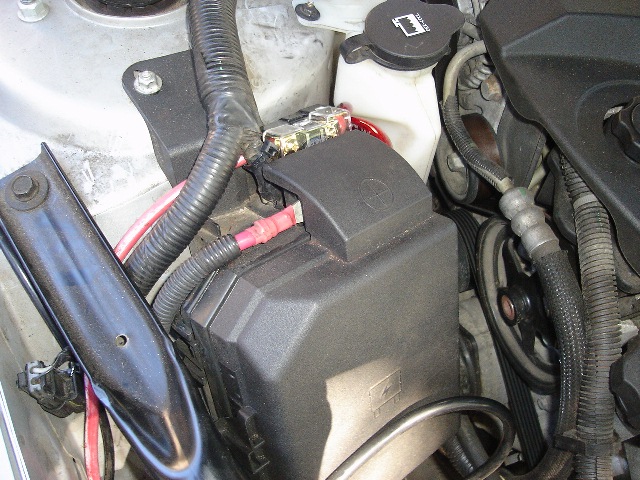
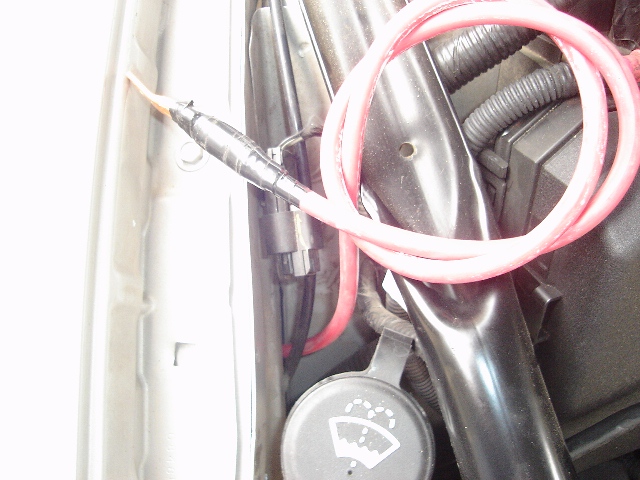
. . and in the fender.
CLICK FOR UPDATE - I found the grommet in the firewall and re-routed the power wire.
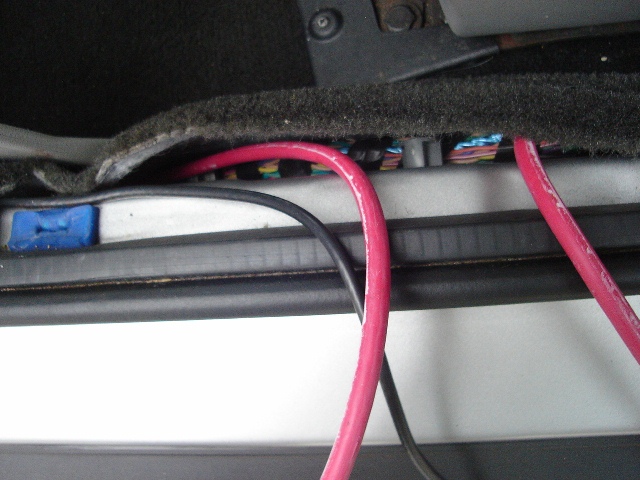
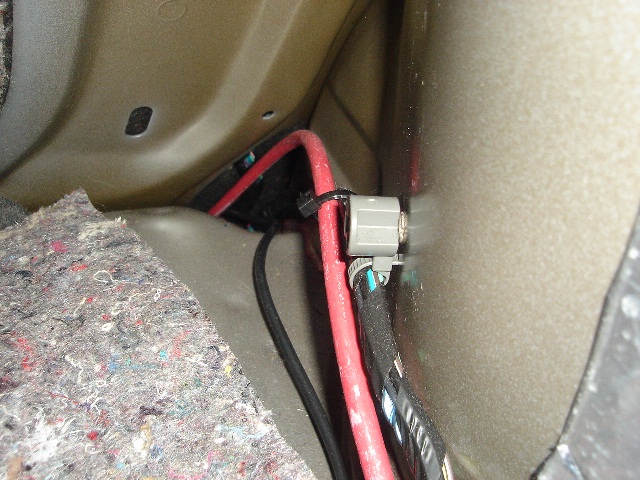
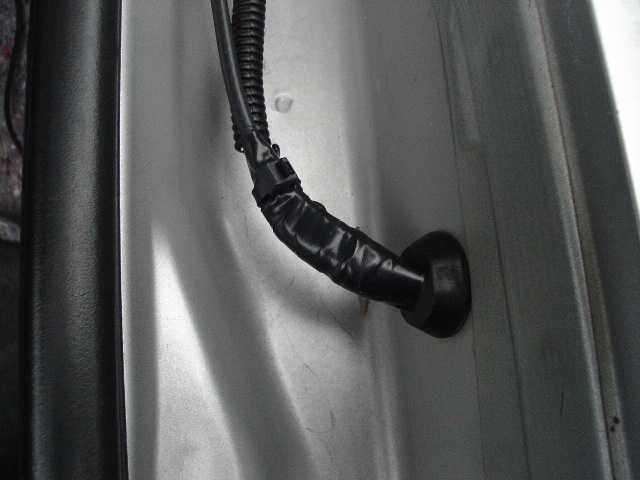
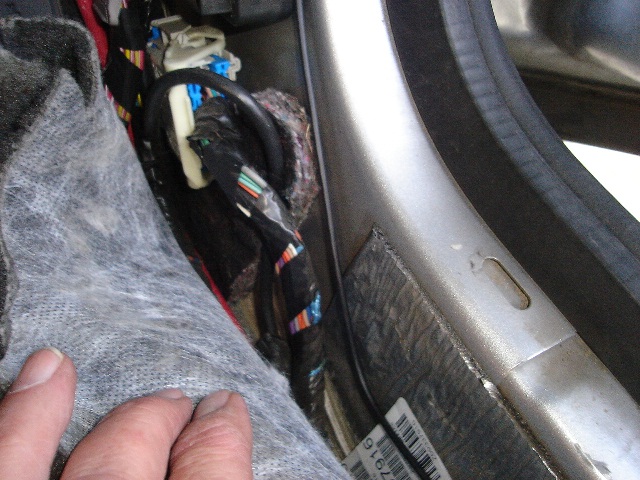
Wire enters cabin through the door wiring grommet. I took this route instead
of through a floor grommet. Might regret it, I think the right speaker is
picking up alternator noise.
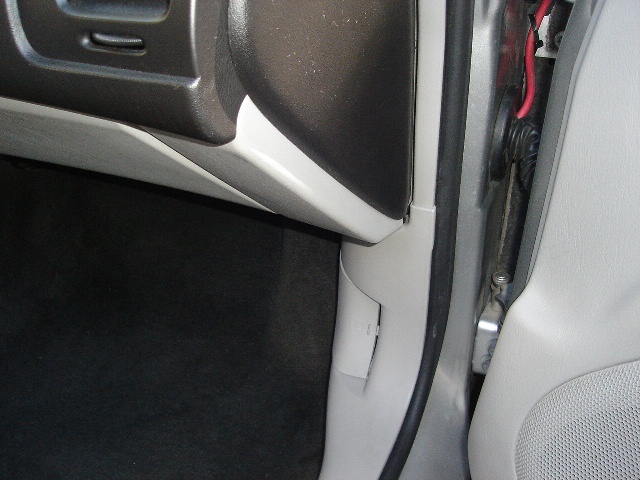
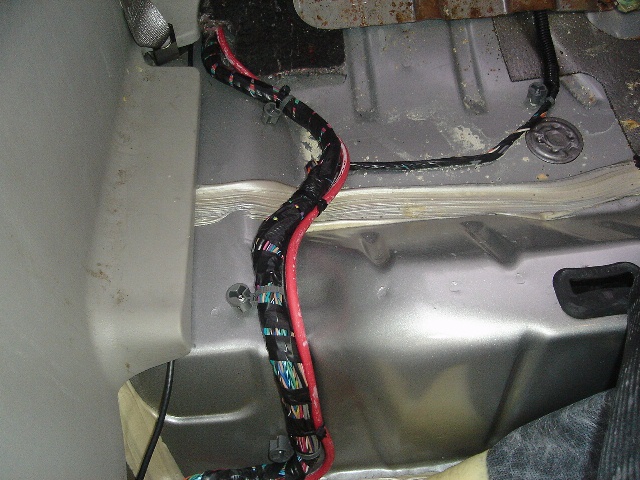
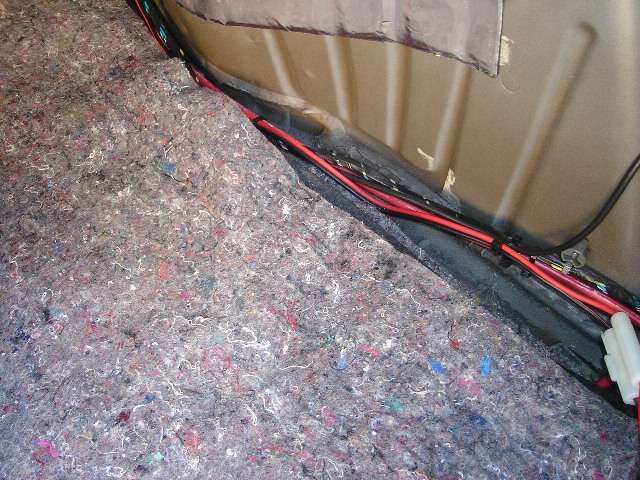
Power wire is high & dry here. Runs down behind fuse panel and along rocker
Easy route along the rocker
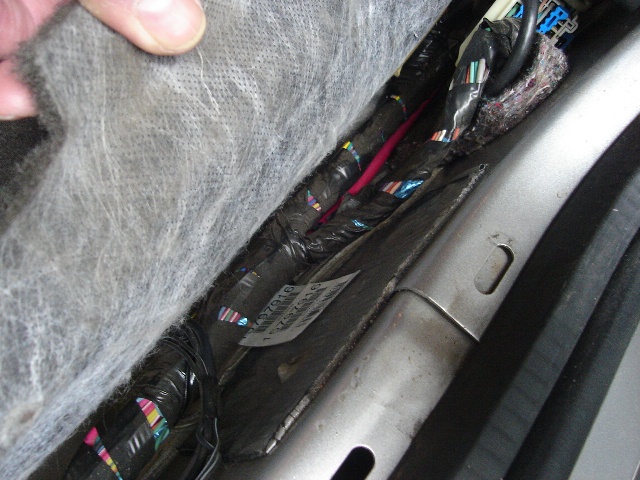
Under the harness
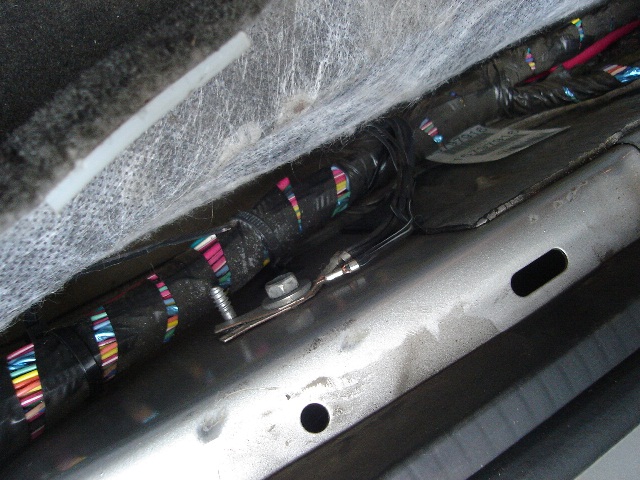
This was my halfway point
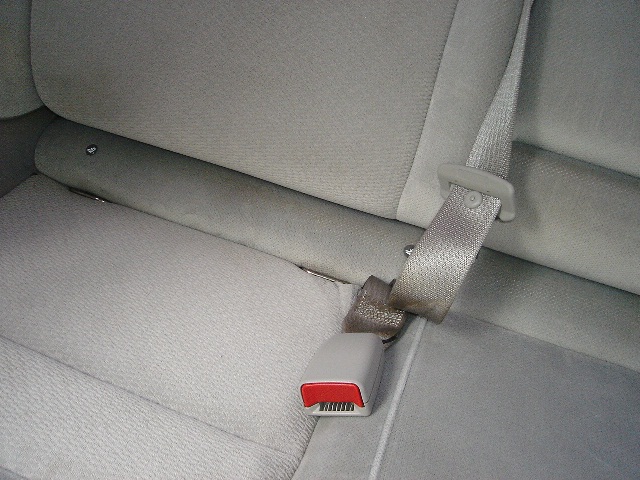
To get to the trunk without pinching the wire the back seat cushion needs to
come out. The strip with the baby seat symbols pulls out.
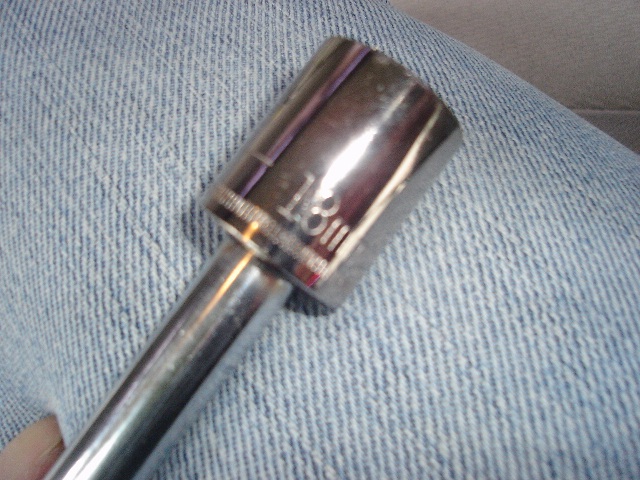
Need an 18mm socket for this .
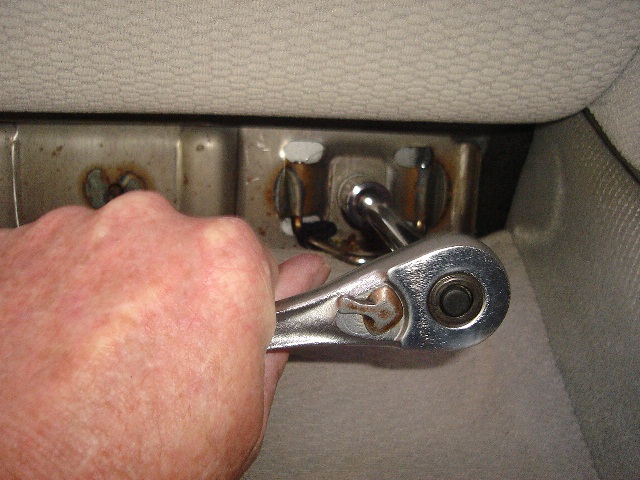
Two bolts hold the seat in. The front edge snaps into the floor.
Seat out. Yecch! Who was eating crackers back there?
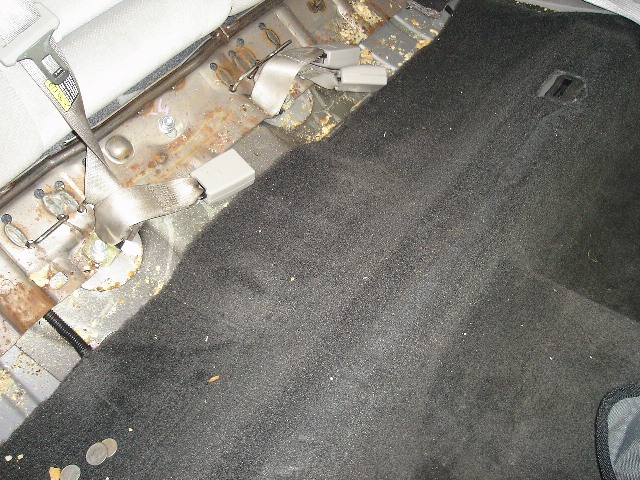
At least there is some found money with the cracker crumbs.
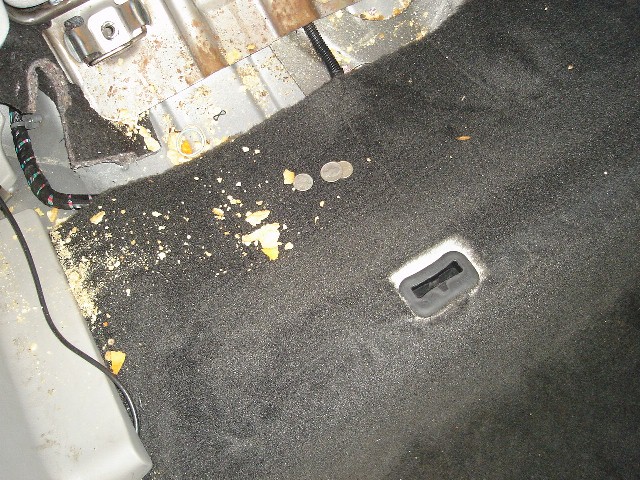
This is the way to the trunk. There is no grommets or other obstructions.
Push the wires up to the trunk.
Dress up the wire
Put the insulation back on.
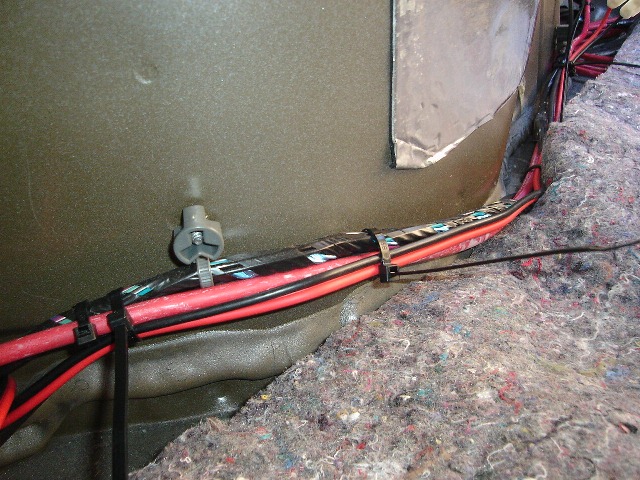
Cable ties secure the power wire.
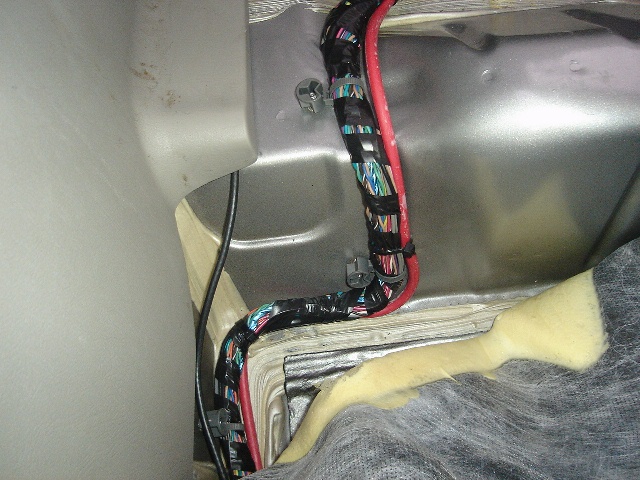
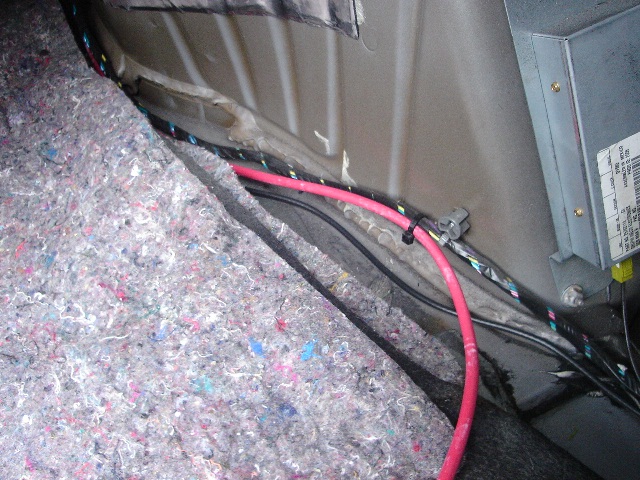
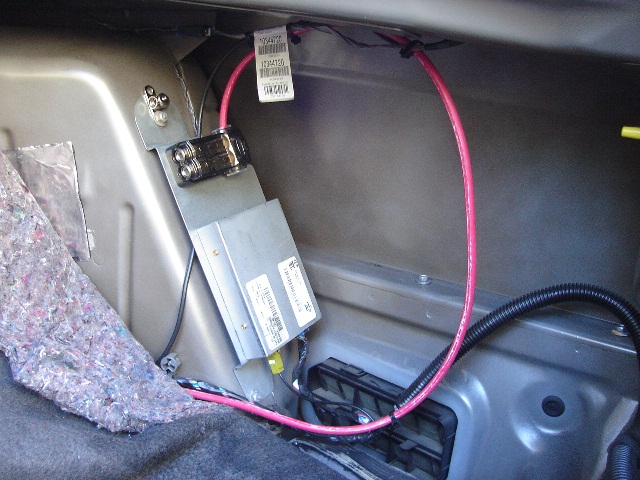
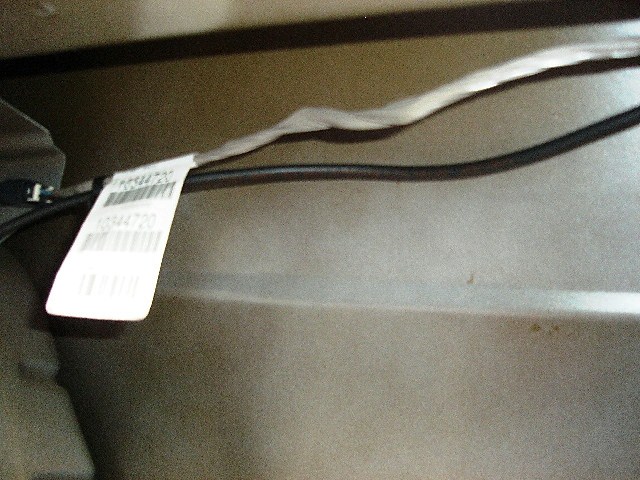
Back in the trunk, the wire follows the harness.
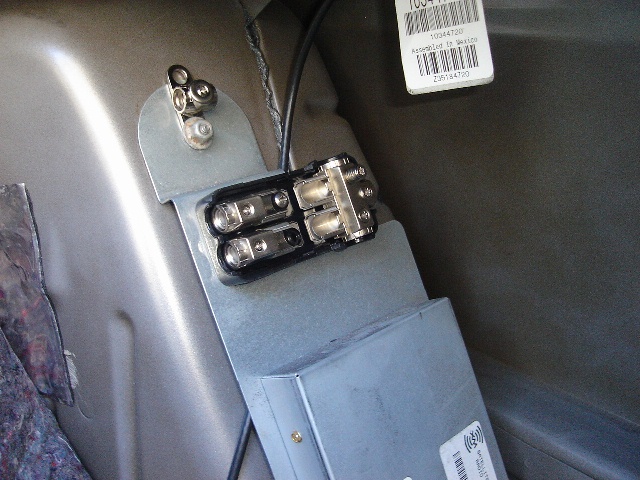
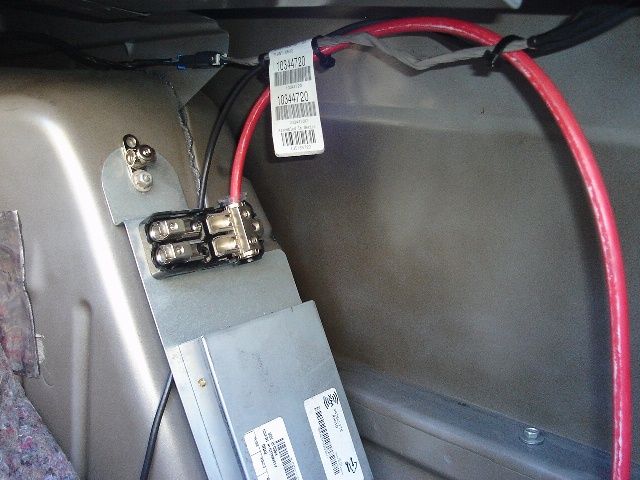
I am going to use the XM Radio bracket as a fuse point. Here the power wire
shadows the harness.
Here is the fuse panel and ground block.
Power feed to the fuse panel
Secure the wire.
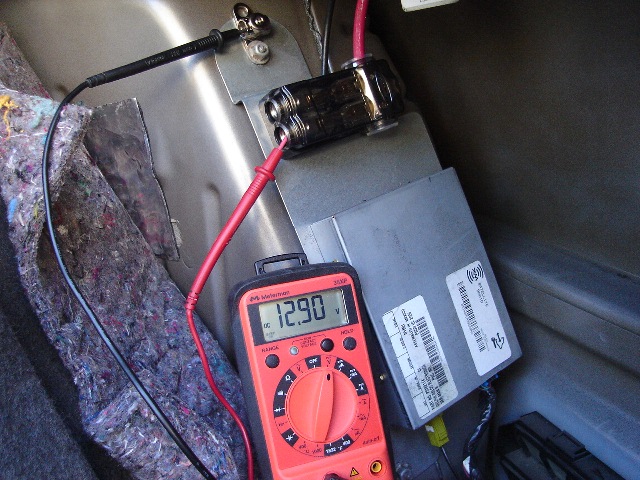
Testing the install. We have power to the trunk!
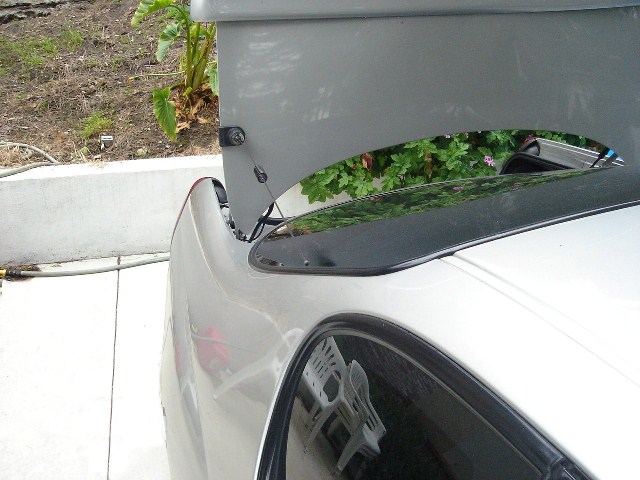
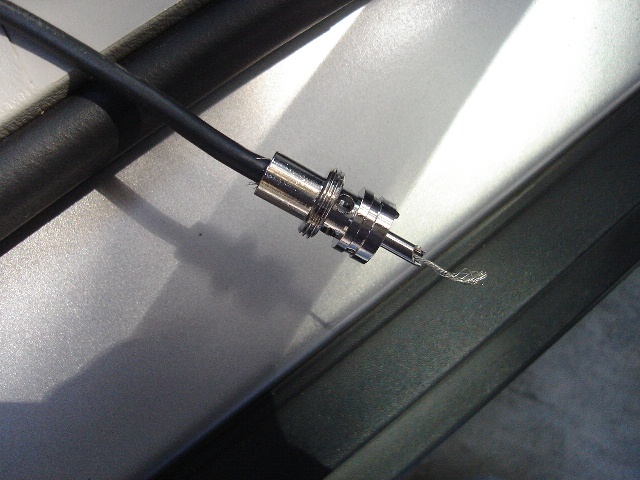
Now to get down to radio stuff. The antenna is a Larson dual band gain
antenna with a trunk lip mount. In order to keep the antenna from hitting
the glass, it is mounted off to the side.
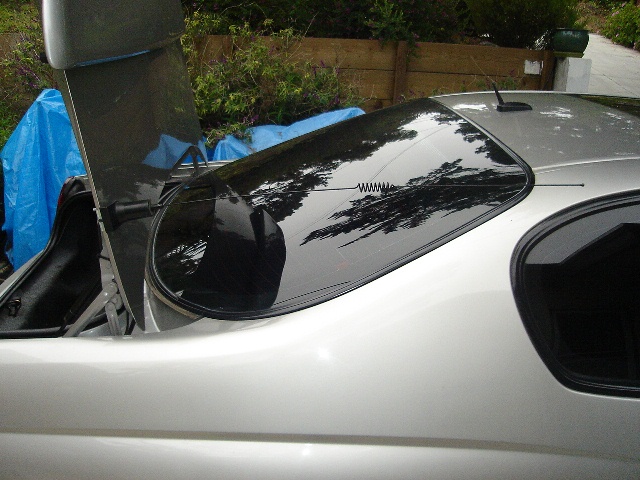
Antenna clears the glass.
Follow the 3rd brake light wires to get to the trunk without pinching the
coax or creating leaks to the trunk.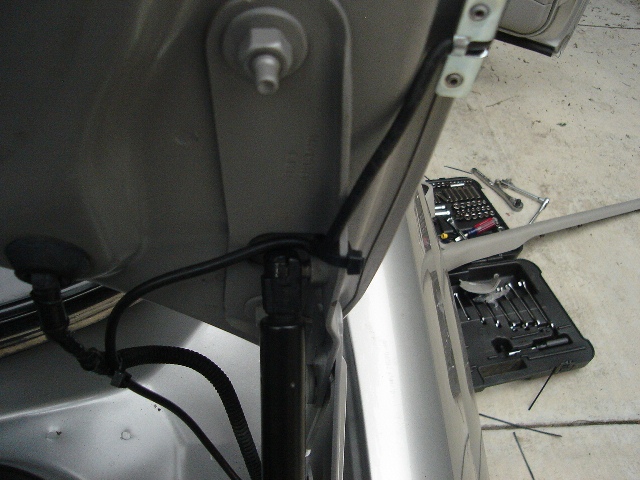
This grommet was big enough to let the cable through
Coax to the cabin
Back inside, solder the connector on.
Power cable to the radio. The fuse block accepts smaller gauge wire with an
adaptor.
Seen it before? Along the wire harness, down under the back seat.
Dress the wiring with cable ties.
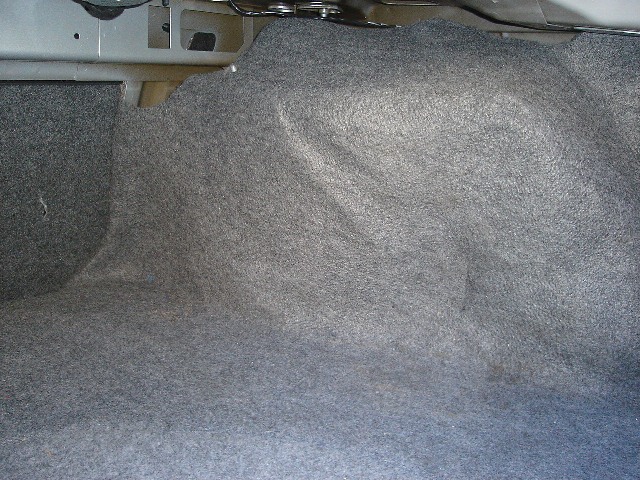
Replace the trunk liner. Sano!
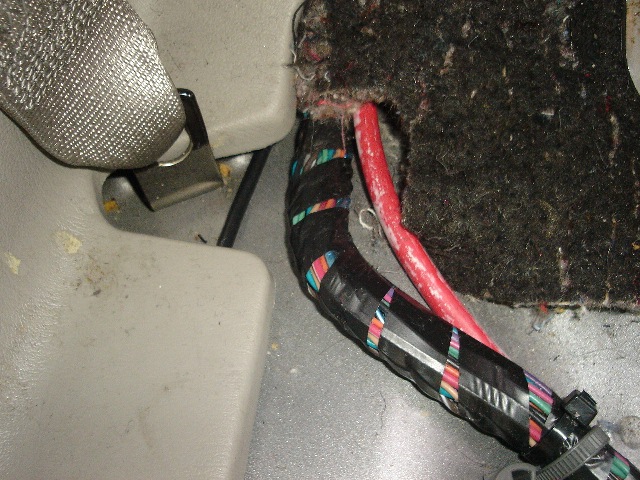
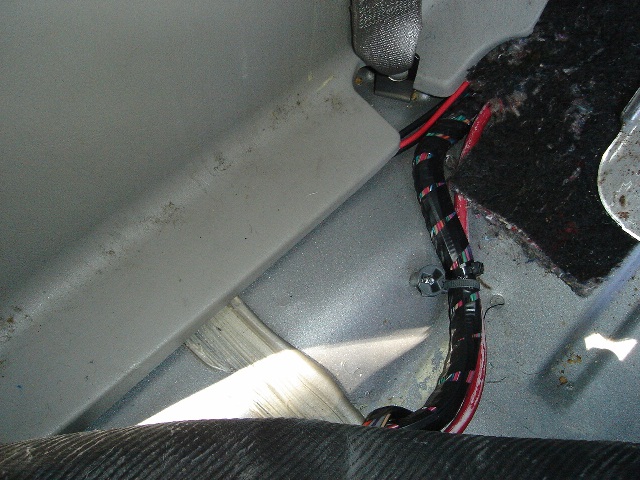
Back where the dirt and cracker crumbs are, the power lead and coax emerge.

I diverted the power and coax to the rocker panel path to keep the power
wire short as possible. Really, it would not reach if I went the other way
along the harness.
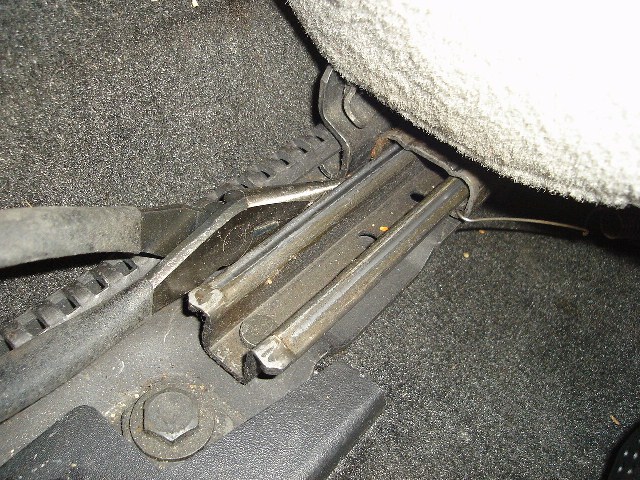
The old needle nose plier in the seat track. Keeps the seat all the way
forward.
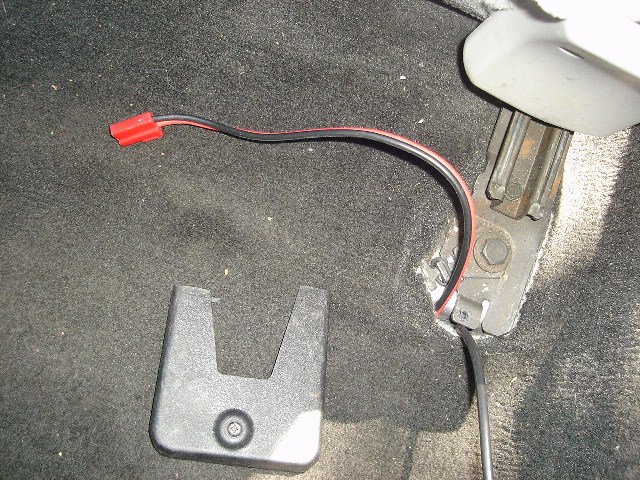
Remove the seat bolt cover, the coax and power leads go to the radio mount
pont.
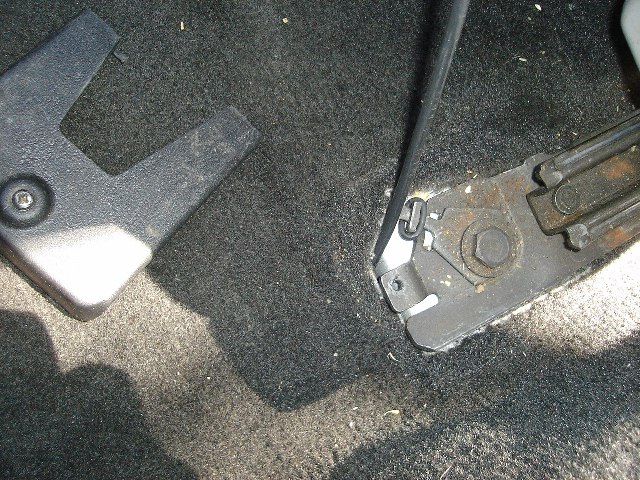
Power lead for the radio.
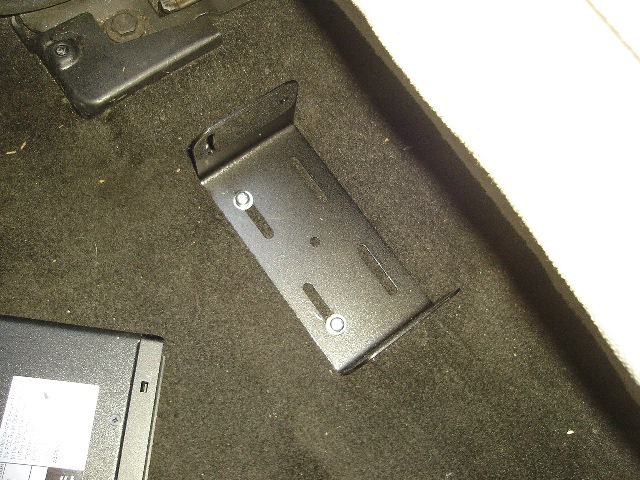
Radio bracket. Yes, it's nerve wracking to drill into a floor.
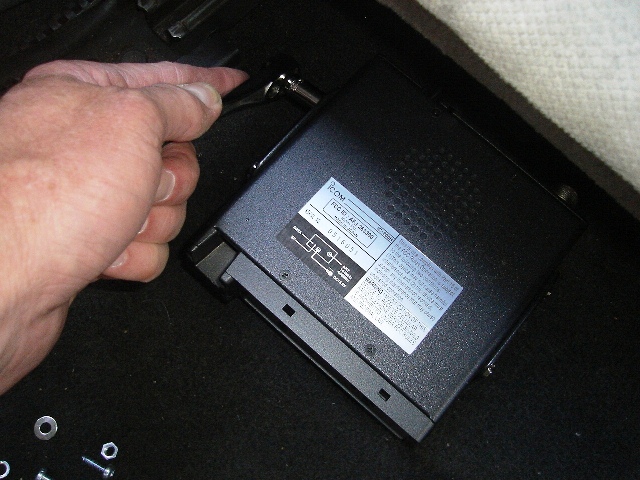
Bolt in the radio
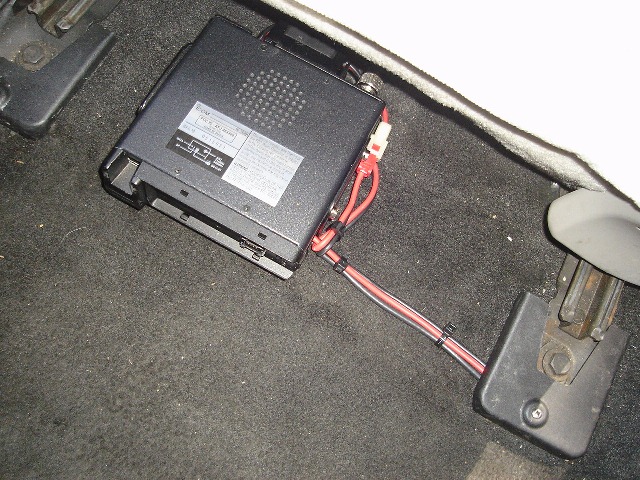
Attach the power and antenna coax
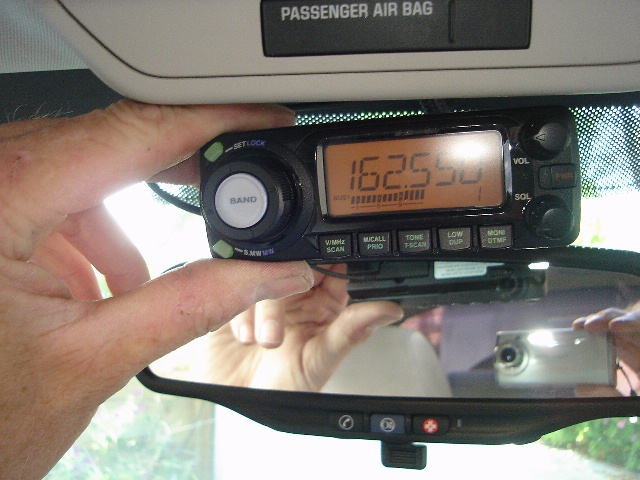
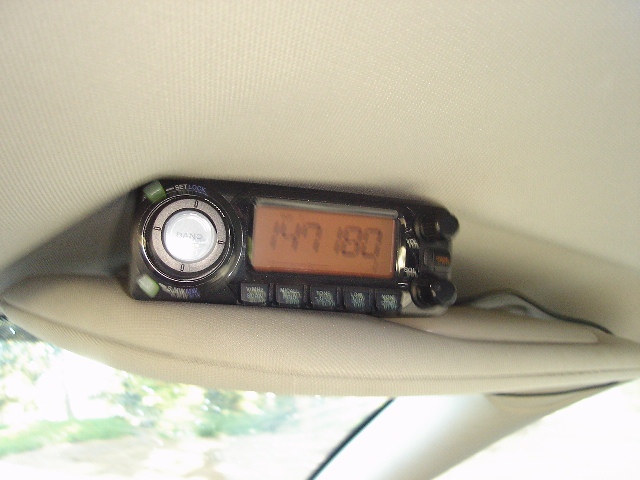
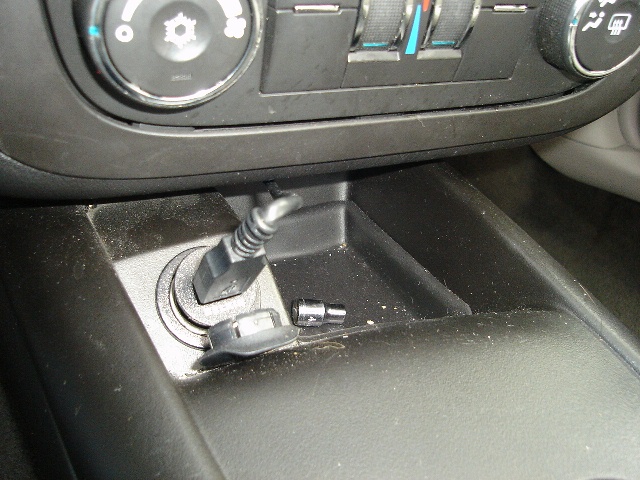
Smoke test. The control panel can be used on the radio face or remote
mounted.
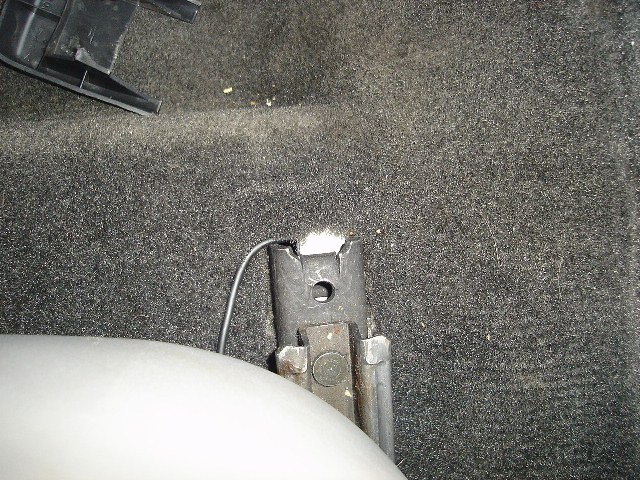
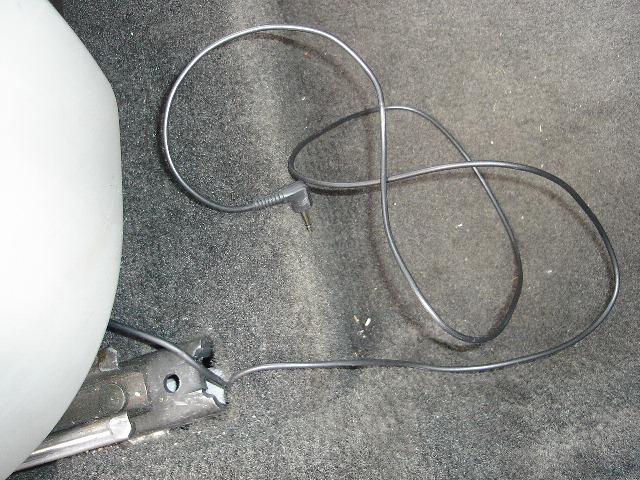
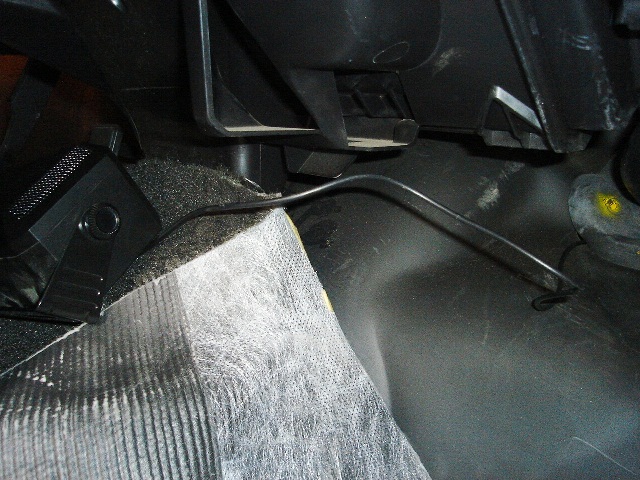
The remote cable was another where I had to take shortcuts to conserve cable
length. Here it goes beneath the carpet under a seat track trim piece.
Heads up by the kick panel
Routed behind the fuse panel
Tied once to this massive metal thing that is behind a snap off end panel.
Cable snakes around the windshield pillar and up.
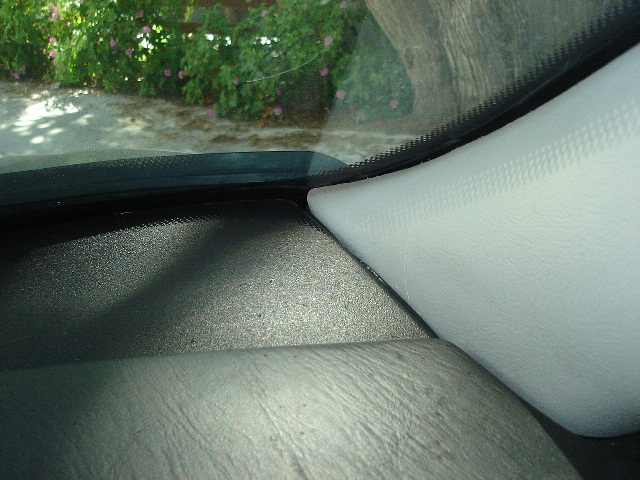
Exits at the center over the mirror.
Another smoke test. It works!
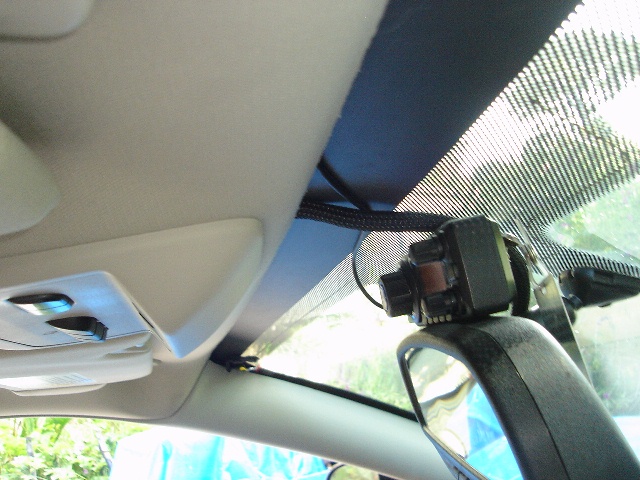
Eventual mounting point, under the overhead console.
For now, this will do :)
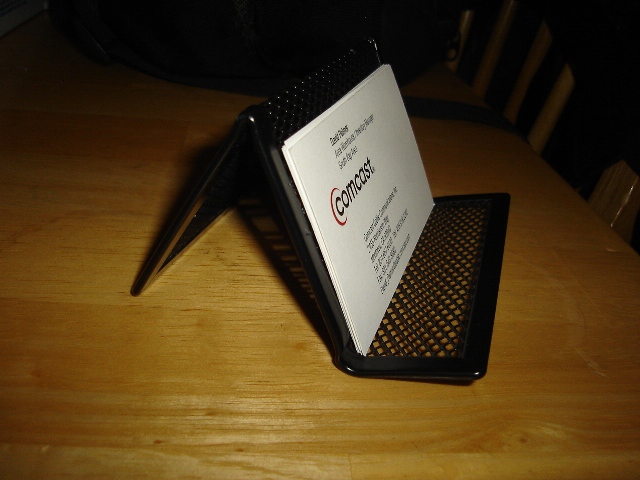
A trip to the non-auto/non ham radio store of choice, Office Depot, comes up
with a low cost bracket. A business card holder in mesh metal. Cost : 99
cent
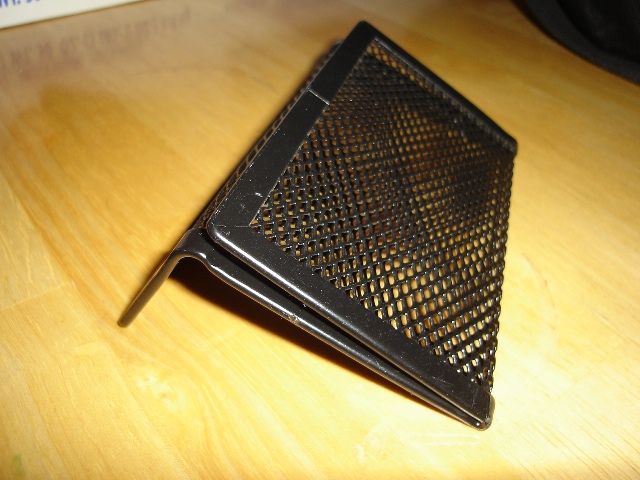
Flatten the back.
I'm going to use magnets from the junk box to hold the control head to the
bracket.
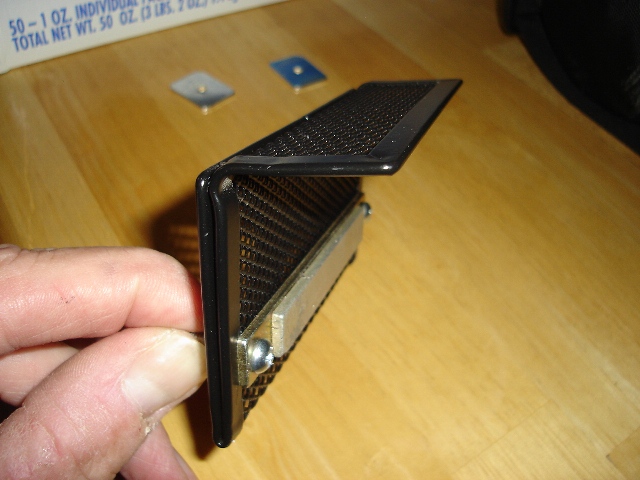
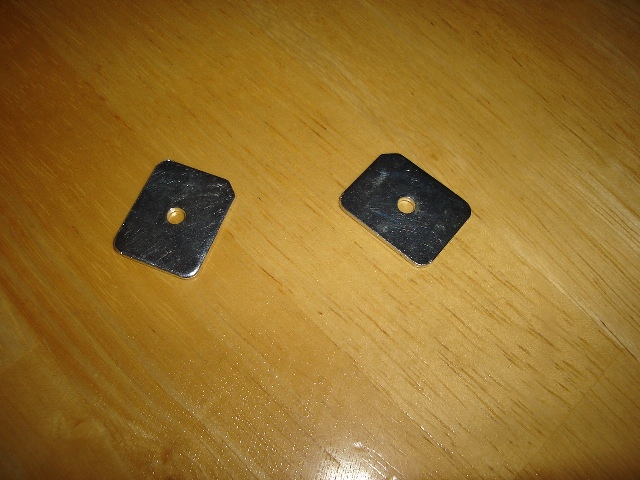
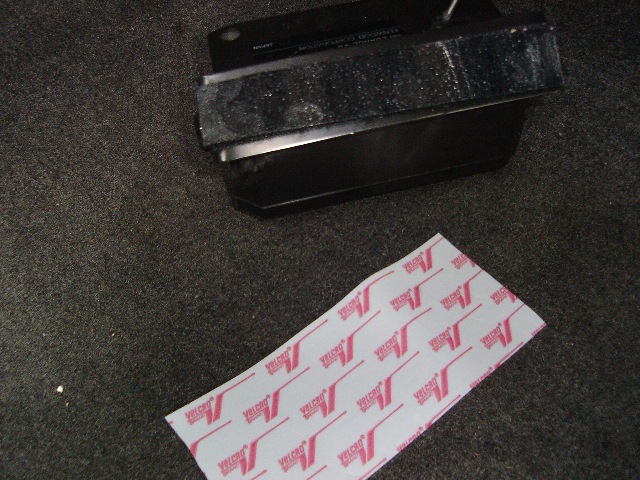
Control head will get these two cabinet latch plates attached with 3M double
sided foam tape.
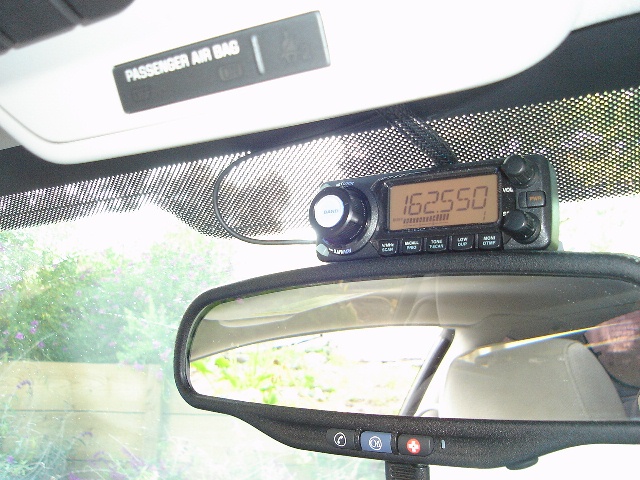
For now there is no cutting or drilling or gluing. This homebrew bracket
wedges in between the overhead console and the headliner.
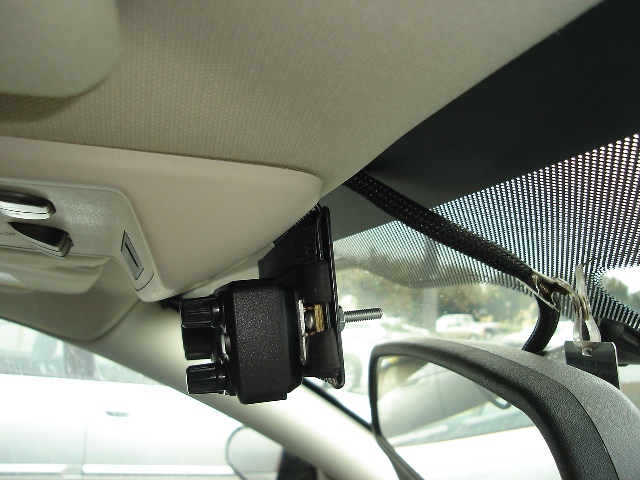
Connect control cable and this part is done.

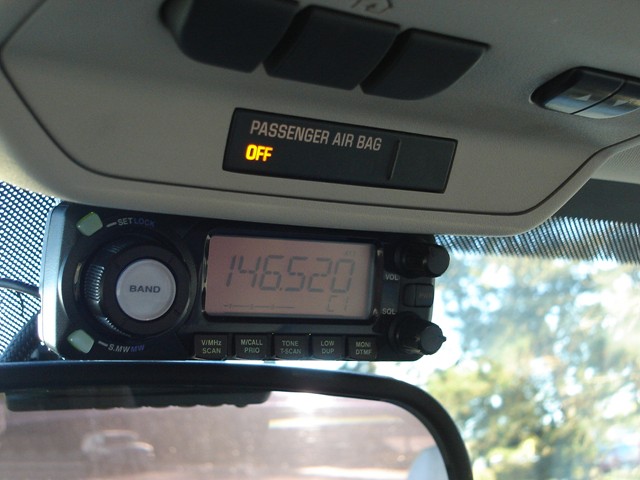
Control head in easy view, and reachable.
Speaker lead follows the control wire.
Speaker and it's wire under the dash
No, not going to drill here. We'll do the Velcro-Fly.
Speaker stuck to the heater box.
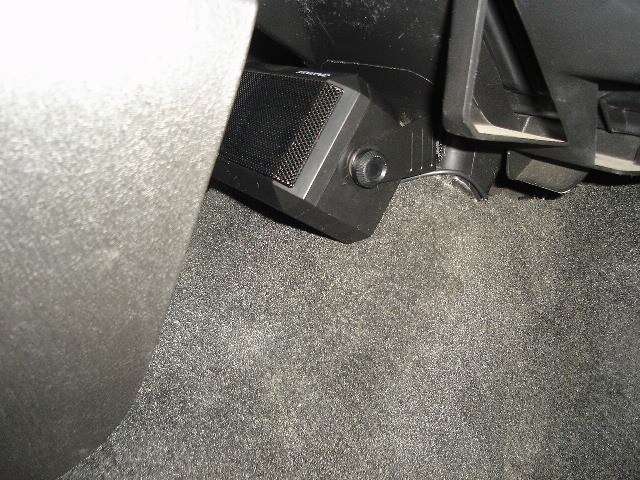
Sound comes out here.
73 de K6AYB
Update - November 2011
The fender-to-kick panel route is slapdash, I admit. Lets find the right way.
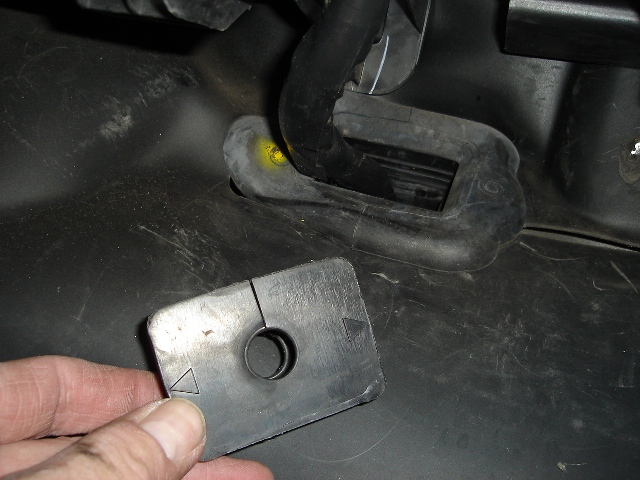
There is a grommet in the passenger side kick panel.
If you try poking it with a screwdriver or such, the grommet will feel
impassable without fear of hitting the wire harness. Fear not, there is a
thick rubber block that comes right out.
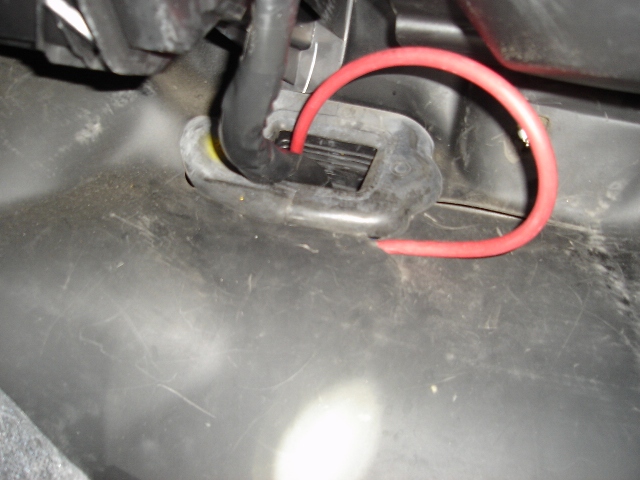
Take the block out, poke the boot with a screwdriver, push the wire in. Put
block back on both wires (or drill a new hole if you are installing anything
bigger than 4 gauge wire).
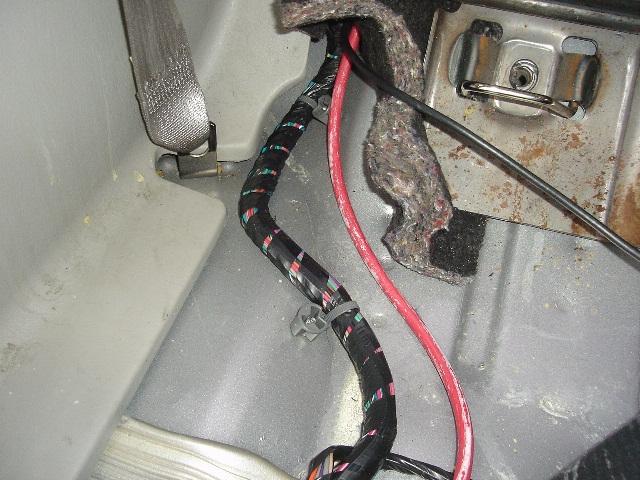
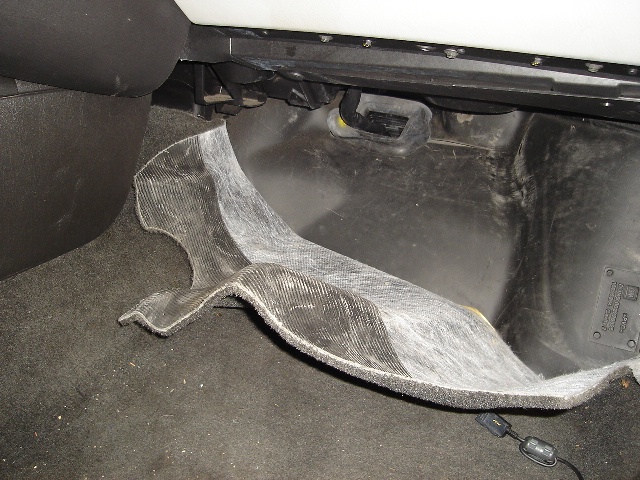
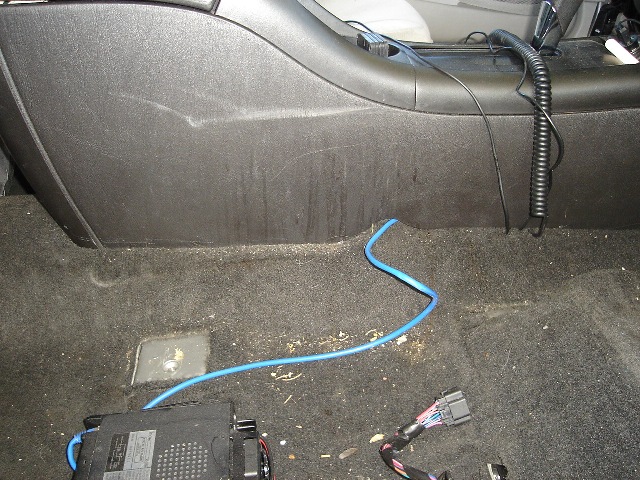
Using this route, I changed the path to the center, between the seat and the
console. Route to trunk is same. You see lots of dirty messiness when you
take the seat out..
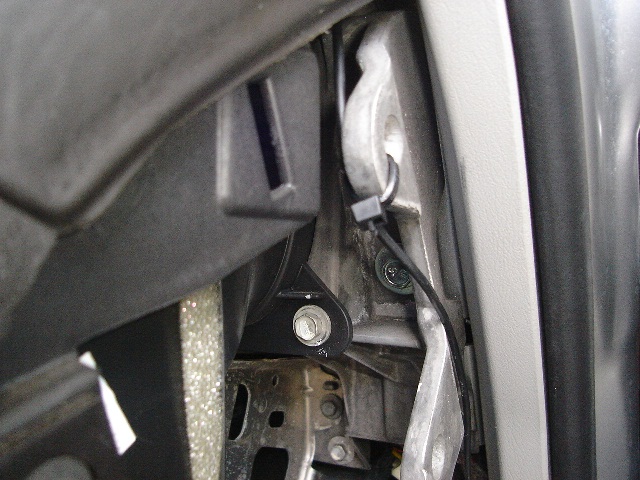
Back in the engine bay, the cable comes out below the alternator. I removed
the coolant overflow bottle to make the job easier.
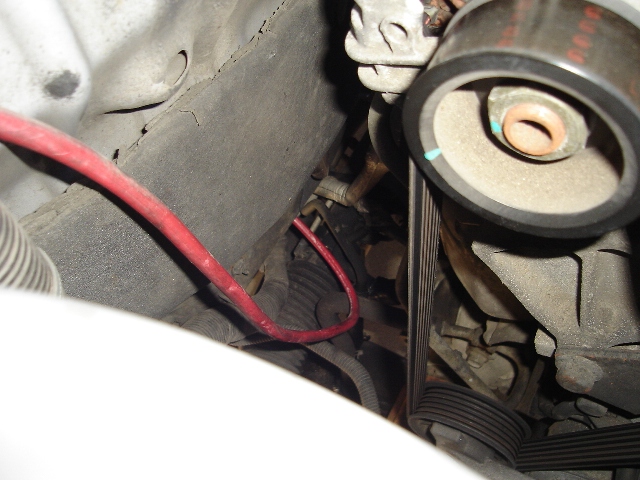
A few cable ties to dress it up
And reconnected to fuse.
I still need to move power tap to battery post and install a noise filter. Moving the power wire out of the rocker panel reduced a lot of interference but some remains.
Back to the cabin routing part