Amateur Radio Install In Toyota Rav4
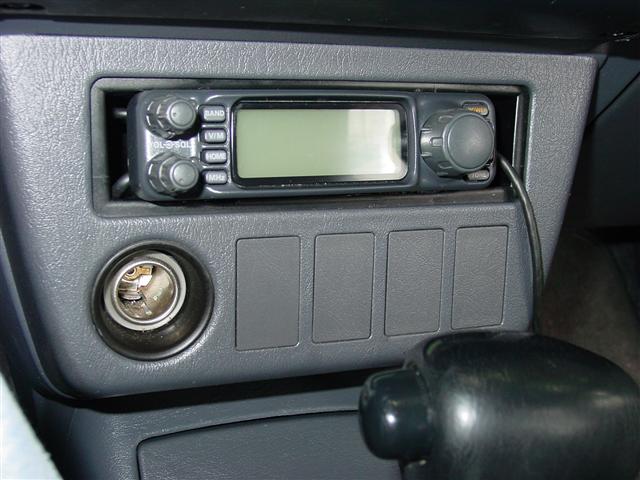
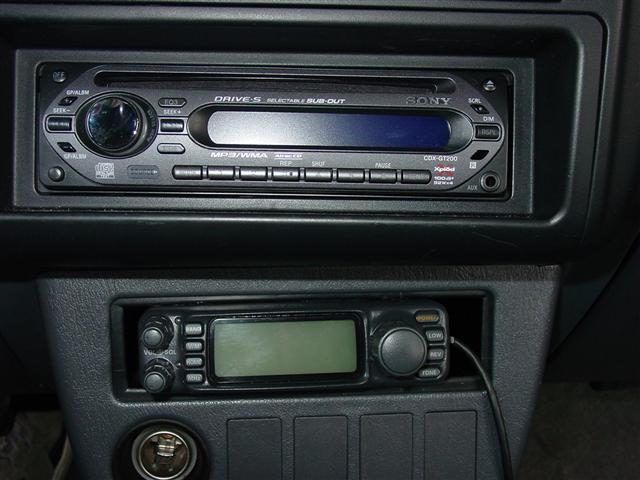
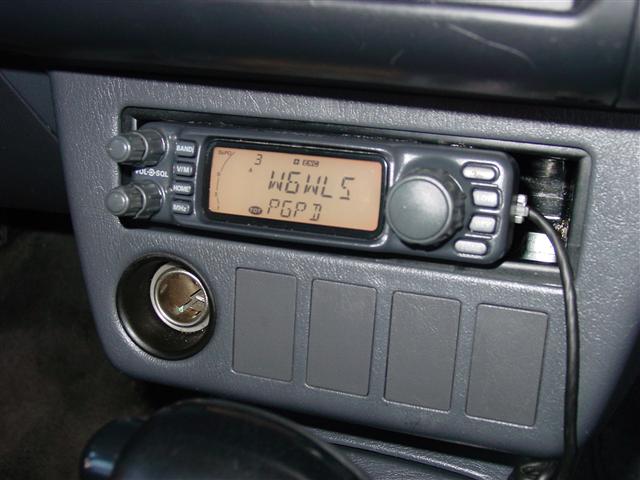
This is the stash pocket that is in the console center stack. The FT7100
remote head bracket fits snug.
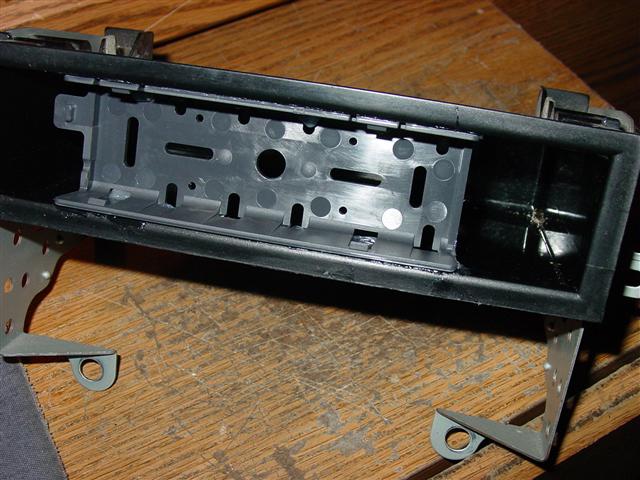
A bead of silicone RTV on the top and bottom of the bracket will keep it
stuck enough to use the controls and be easy to peel off when I hand the
RAV4 over to the offspring in a year.
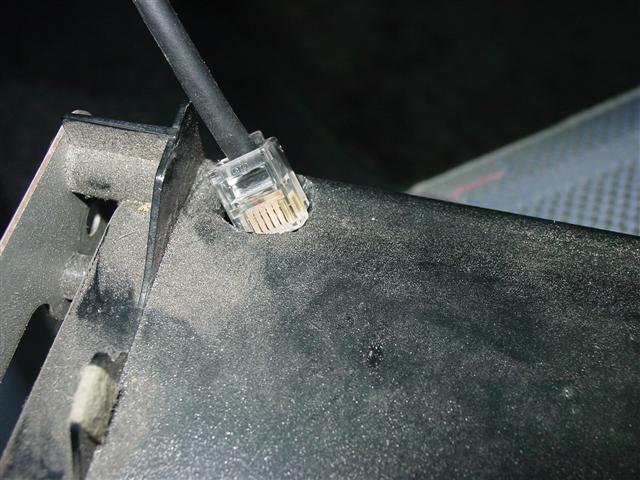
A small hole in the rear top of the pocket for the data cable.
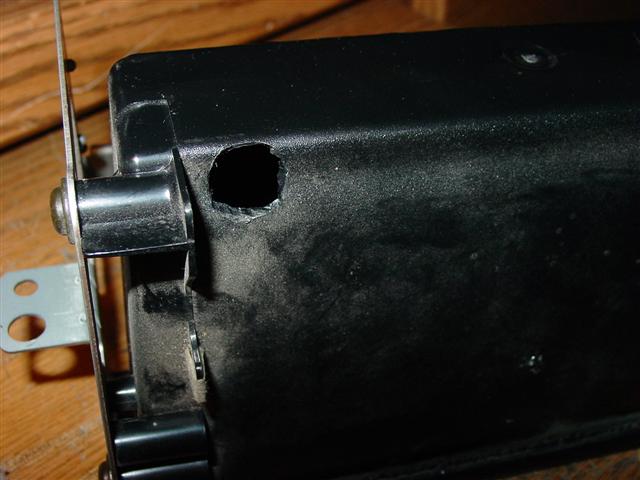
Pass the data cable through the hole. It's an RJ11 plug, same size as a land
line plug.
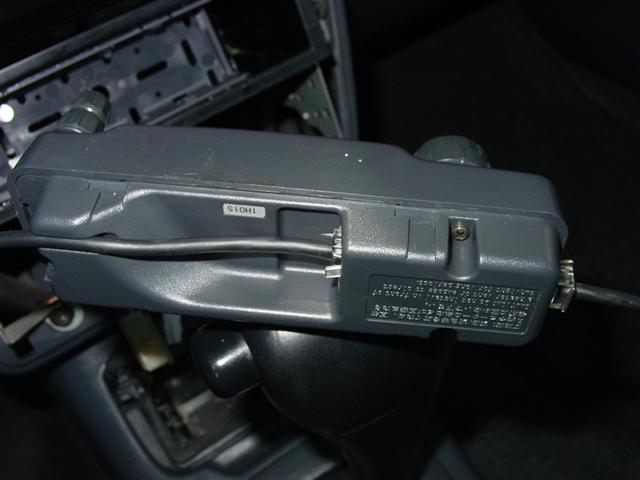
Data line into control head. Microphone cable is on the side - it's an RJ45
plug, same as computer Ethernet plugs.
The gaping maw of dead space that Toyota gives us.
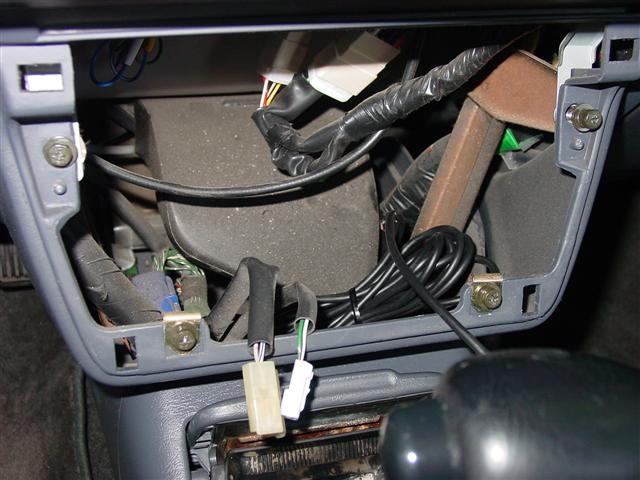
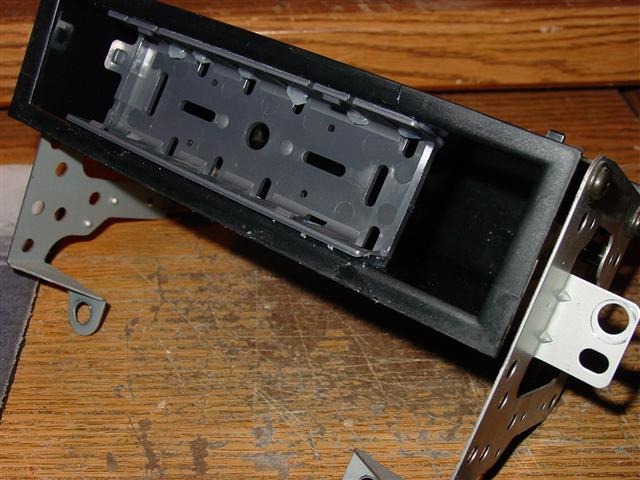
Four screws attach the pocket back to the panel, then this plastic cover
snaps back on. The lighter socket has connectors to disconnect it from the
wiring harness.
Hate this picture, the dashboard looks crooked, but that's the way it's
built
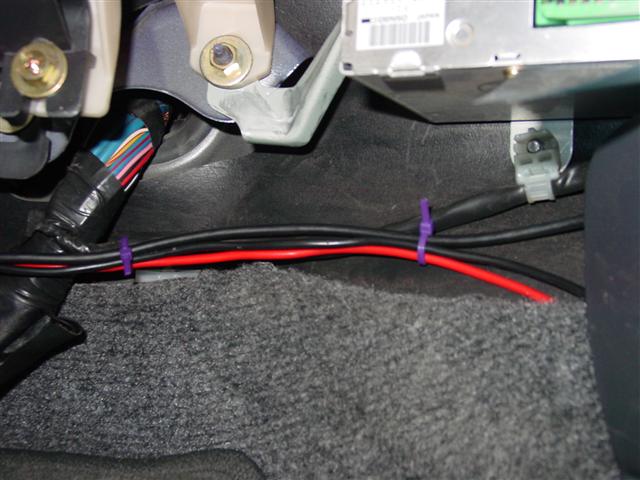
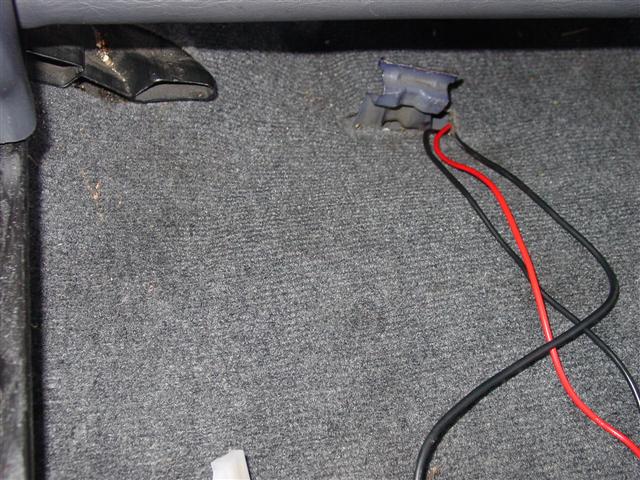
Here is the data line coming from the dash and the power leads that exit
through the firewall and go straight to the battery.
Power & data cables in the rocker panel passage, along with the rear window
washer hose.
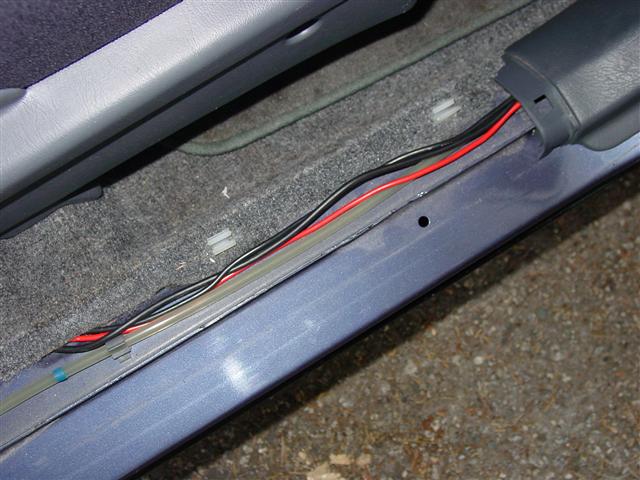
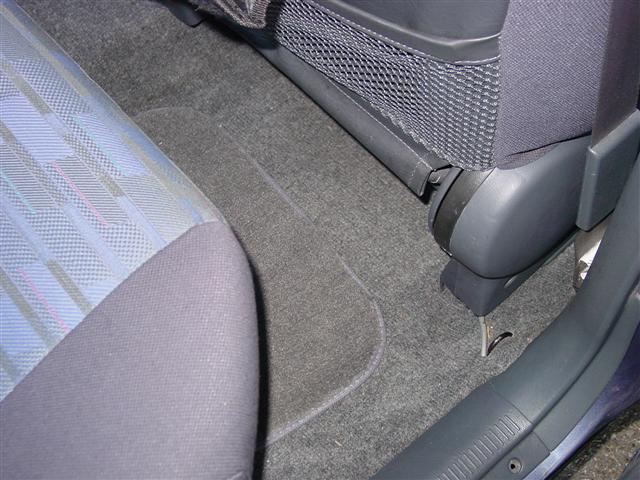
Power & data cables making a turn right after passing the seat attachment.
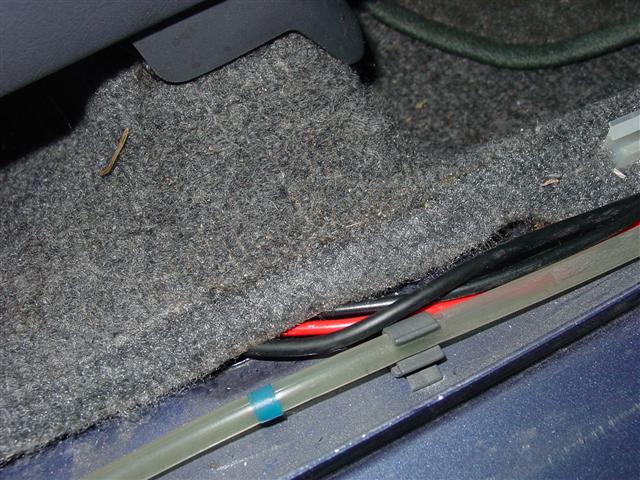
Power & data cables passing through the hole for the jack stowage. I
personally stowed the jack in with the tire tools. Makes more sense to me.
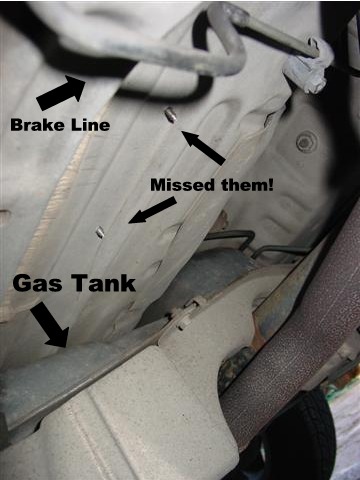
After test fitting the radio & bracket, I chose this location. Important
thing is to choose a spot where one would not drill through the floor into
anything important.
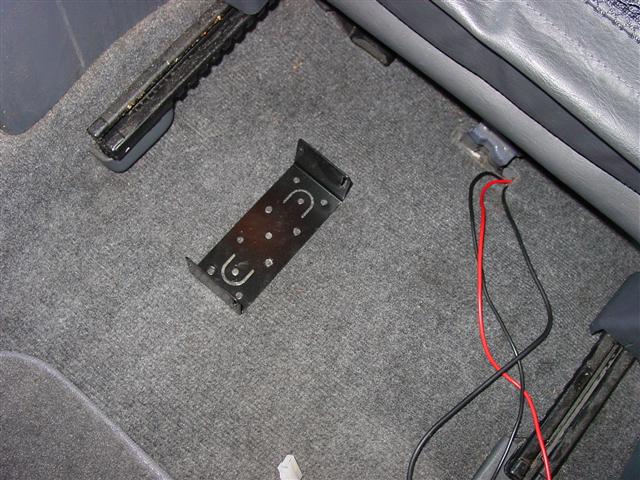
I eyeballed it, then would tap on the floorpan with a tool while holding my
hand against the carpeted floor (yes I have long arms. Others may need to
just get out the measuring tape and check).
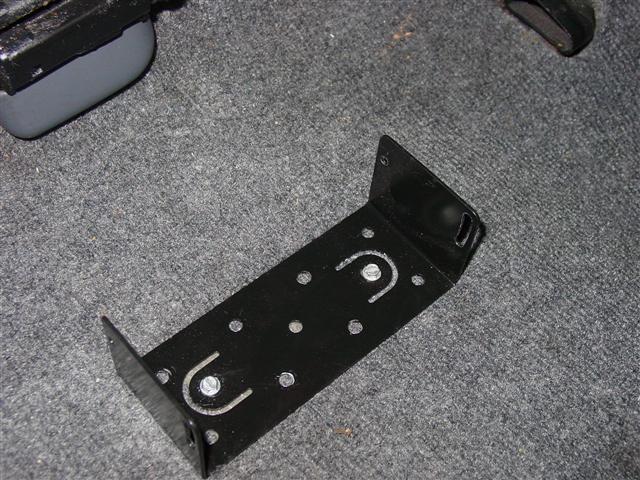
Drill pilot holes, then attached bracket with hex head sheet metal screws.
Drilling through the carpet and padding makes a little wad of thread bunch
up right at the hole. I cleared the way for the screws by poking a phillips
screwdriver in the hole and wiggling it.
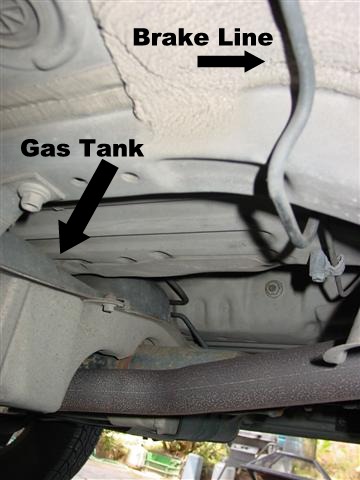
See - the two screws totally missed the sensitive bits by miles. (fact is, I
drilled the back hole first knowing that there was plenty of room, then
double checked the front one.
All the sheetmetal screws holding the rear quarter trim give enough room to
wiggle an arm in there. To take the panel out completely would require
unbolting the seatbelt. Cool to know when it's time to replace the rear
speakers.

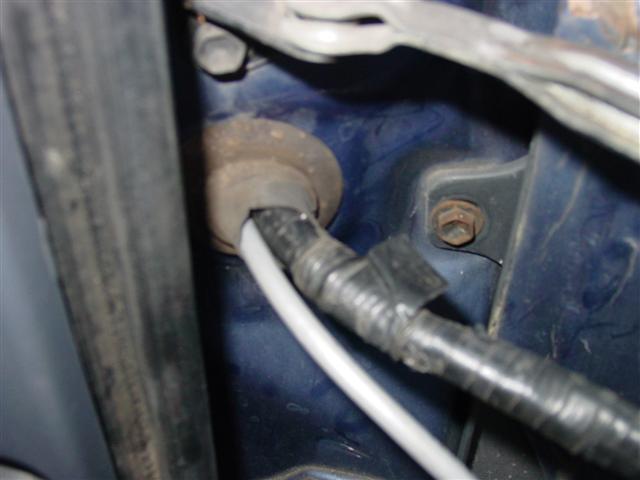
Pull out the grommet, pass the coax connector through and stuff it in the
hole. It went in a channel down about a foot then there was a hole to fish
it out of. That took some time.
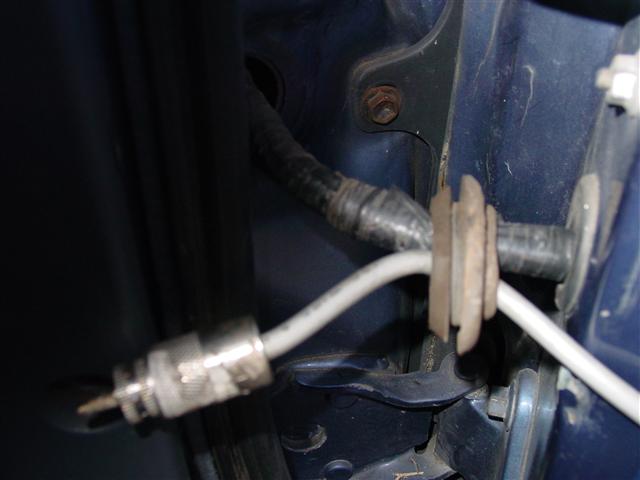
After coming out the door jam, the coax takes the water works route -
following that washer hose back along the rocker panel.
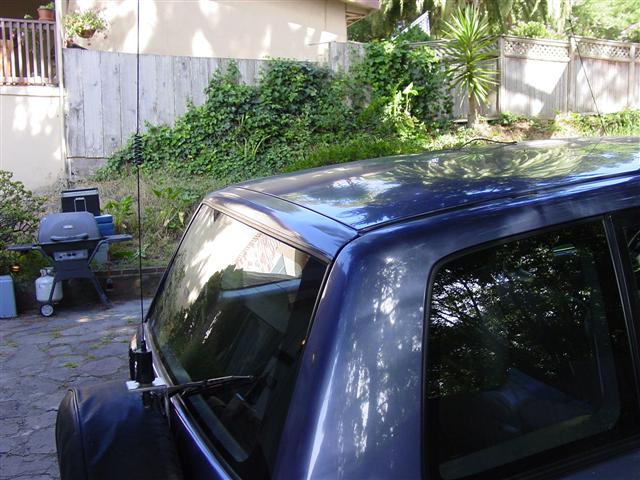
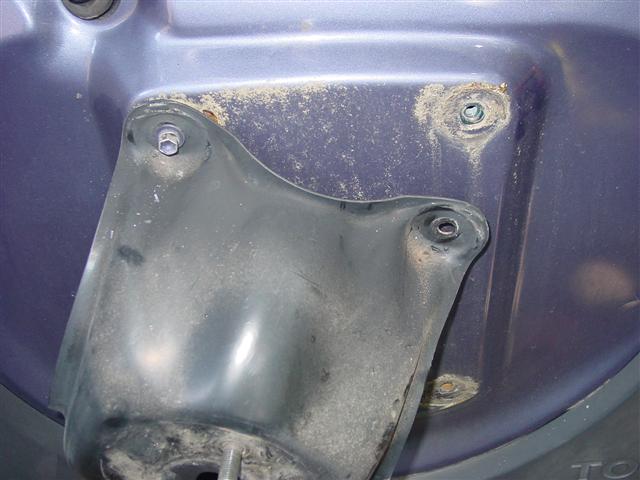
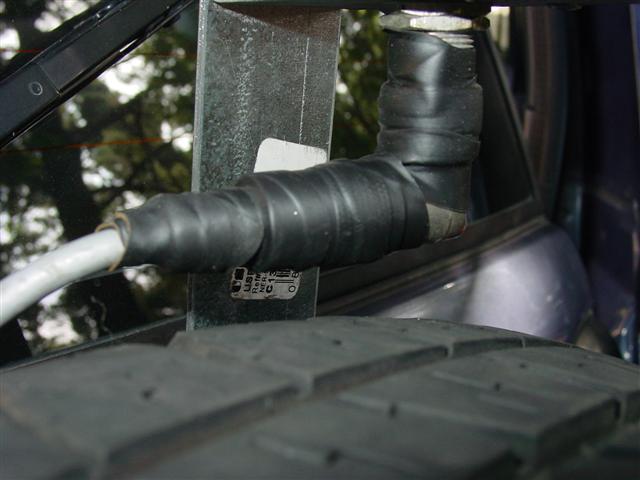
To mount the antenna (remember, it's a temporary job) I'm using the spare
tire mount. I've seen this kind of thing commercially for Jeeps.
Remove spare tire. Exposing areas where the sun never shines . . .
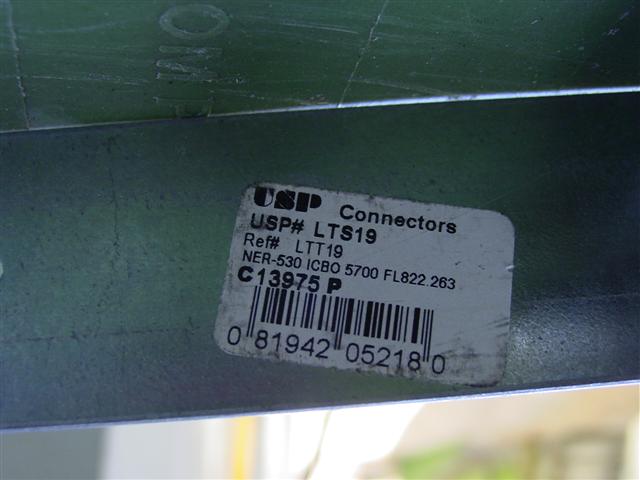
My antenna bracket is some kind of construction framing that I found at Home
Depot. An "L" shaped piece of galvanized metal, with nail holes down the
long end, and a three-quarter inch hole in the short end. Perfect for an
antennal mount.
This dirty place is the outside, between the plastic trim and rear door.
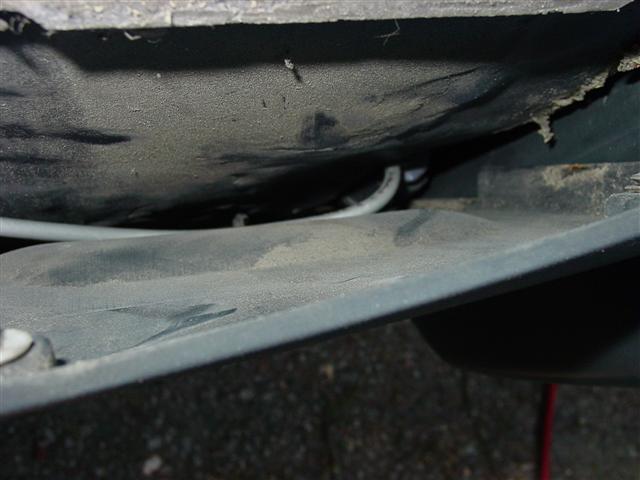
The coax slipped right in from the hinge area, and the panel only required a
teensy bit of carving for the coax to exit behind the spare tire.

Connected to the NMO to SO239, and wrapped in self fusing tape.
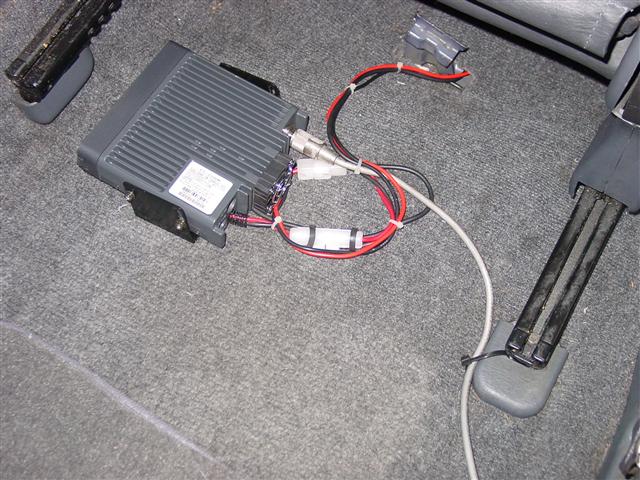
Back in the cabin. The coax pops out of a hole for a tie-down loop. Some
cable ties to dress it up. Mounting location puts the radio's serial port at
an easy to get to place. (it's right above the power leads).
Put the seat back. All hidden.
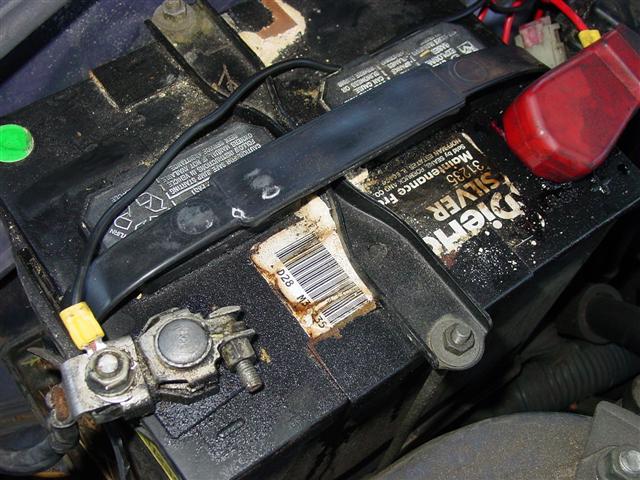
For powering the radio, the power leads go to the battery. To get the wires
out I used the air conditioner weep hole trough the firewall. Another icky
picture. Battery goo. There are fuses on both leads in the engine
compartment, and another fuse on the 12V+ at the radio.
Smoke test. Power on, the radio remembered all of it's memories from when it
was in the pickup truck about 3 months ago.
View from the back.

View from the side.