Car Computer - February 2005
I've had a hankering for a mobile computer - simply for the fact that I want
to have one (aint that enough for any male?) and to extend the mp3
collection to the barovelli-mobile, have permanent wardriving setup, and the
ability to NEVER have to ask for directions again.
Cheapness and creativity call for skimping and scrounging. Here's the
project in the works:
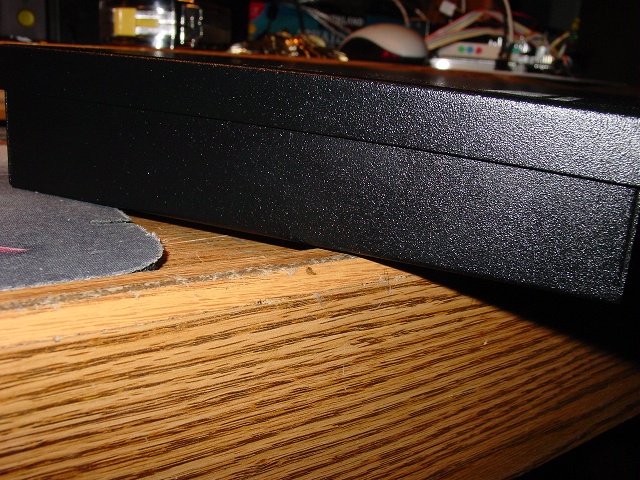
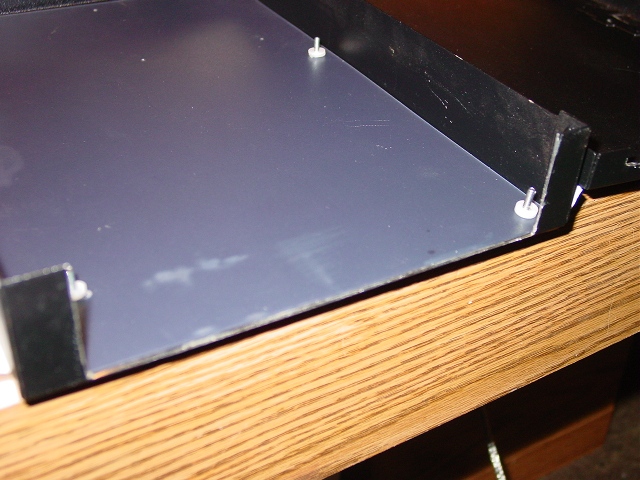
Bought a case. Boy, this one looks like it will keep things secure!

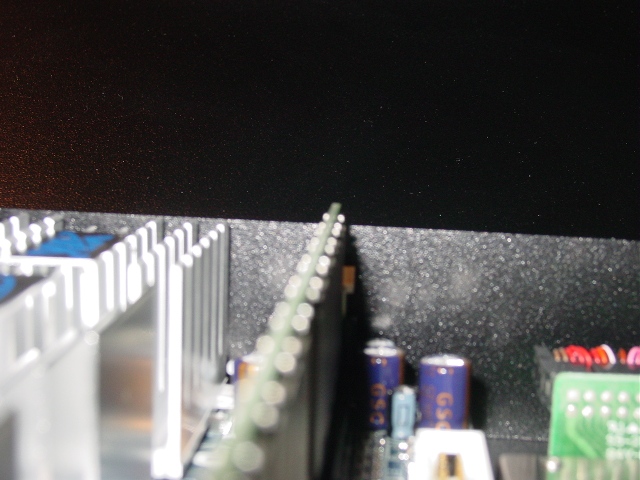
Can't really tell but the front edge is not the height limit
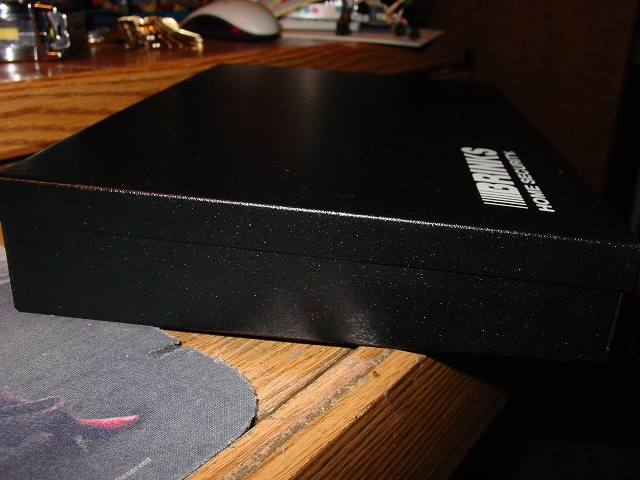
You can better see that the hinge end is higher than the front edge.
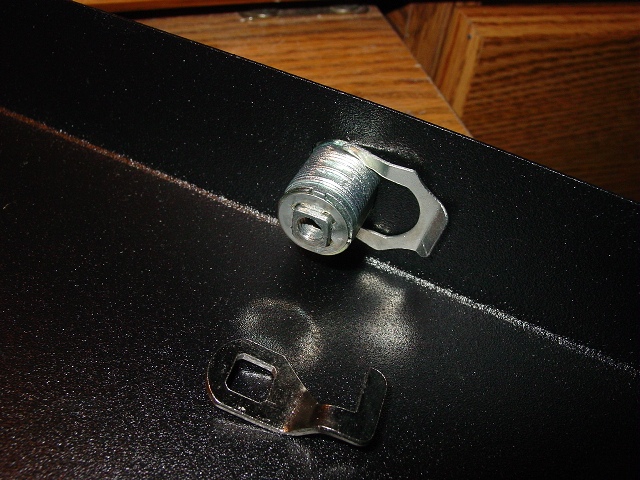
First remove the intrusive and useless keylock. I say that because I got
this cashbox for $7 since the keys were missing. With that Brinks name, it
thought it would be a hard item to crack, I tried the bobby pin thing you
see on TV, with the Swiss Army Knife for a lever (I had used that technique
on a few desk drawers and file cabinets in the past with modest success) it
would not budge! Just before I broke out the power drill, I gave the lid a
good tug. It popped open. The lock disassembles and comes right out. There
are two tabs in the lid that snap off after bending them a few times.
Mock up - VIA EPIA 600 and a 2.5" 20g hard drive.

Used a drive adaptor found in the junque box, and a round cable bought for
$3.

The height of the board & components were REAL close in tolerance.
This scared me first, but I then realized the height issue above.
Still concerned about the height, there could be very little space left
between the motherboard and the case. What was needed was an insulator. Thin
but sturdy. Found this in Office Depot for a buck.

Durable Poly Material. Good insulator. Better than foil.

Trim poly to fit in the case.

Used paper to make up a template for the motherboard mounting holes.

Drilled holes using the template. Fit #40 screws and two nylon washers on
each screw.
I cut out the port side to fit a custom grille/IO shield.
Drop the motherboard in. I left room in the front of the box for fans.
Fasten with nuts. ahehh heh, NUTS.

Hard disk template

Template with mount holes

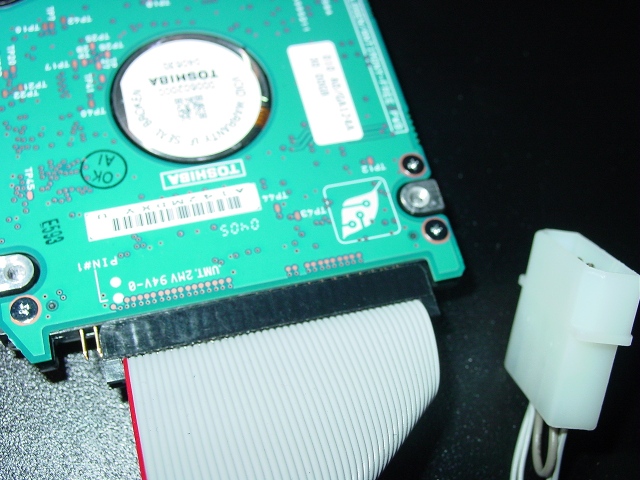
On the Mini-Box.com where I bought the power supply I bought a custom HDD
cable - it has a 2.5" plug on one side and a 40 pin IDE plug + power
connector on the other end.

This is for a lower profile than the circuit board thing from the junkbox.
For now, the drive is on the other end of the box. Might go in the lid
better with the low profile cable.

Measuring for a future slim CD drive.
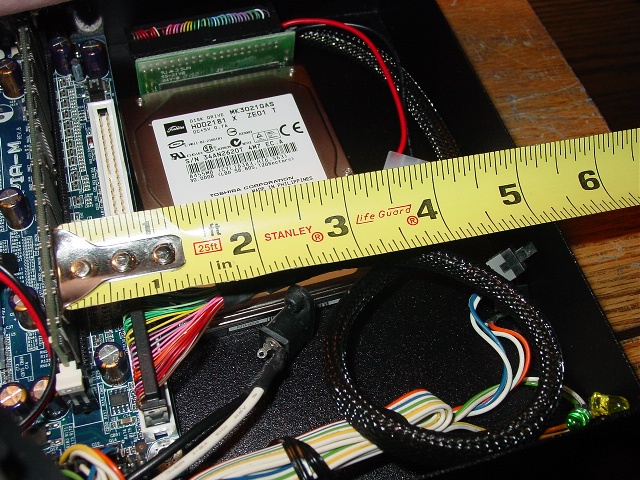
An optical drive really is not in the plans for this project. It would just
get dusty and fail. Any need for a CD would be either an external unit
(mounted in the dash?) or via wifi.

These are the LEDs and buttons from a salvage case. There will be a parallel
set remote mounted by or on the monitor.

The power supply - a 120 watt solid state unit from Mini-Box.com

Close up of the power supply. I may get the power adjuster and sequencer if
I need it.
I replaced the '$15 Power Supply" in the Mint box with a 200 watt version -
it's now very very quiet, and runs off the Kenwood PS-430 power supply that
is for the radios on the desk. One less AC plug.

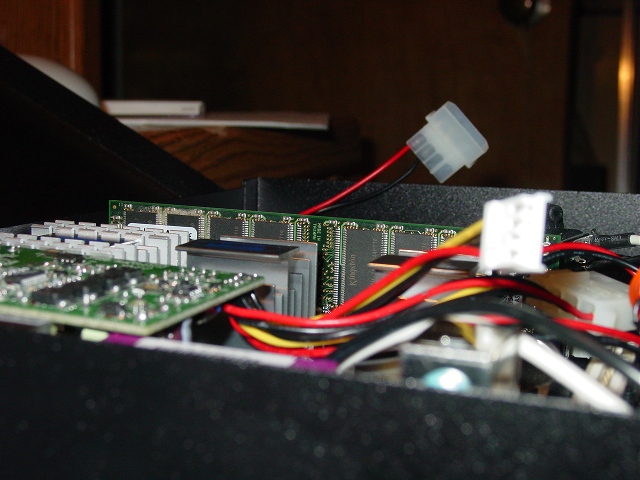
The power supply plugs right in to the motherboard.

Snap! its on.

Now to close the case!

Need to trim the lid so it can close

Here's it

Straight view. As mentioned, there will be a custom made mesh grille
installed on this end.

OK, after all that fabrication, it was time to take a break and see if this
would actually WORK. Here is the full accompaniment of peripherals. The
computer, the hard drive, a USB wifi adaptor, a USB GPS and two 1' fans.

The fans. The machine runs fanless but the case does need to be vented. The
CPU and chipset heat sinks get real hot to the touch, closing them up in the
case will not be good for it. I just set them on the heat sinks for the
test. Drawing 12 volts made quite a noise. Too much for this project.

To throttle down the fans I used a Zalman ZM-MC 1, a molex power plug to fan
adaptor that lets you choose to run the fans at 12 volts or 5 volts. Running
the fans at 5 volt to slow them down is better than using a resistor-type
fan controller because there is no waste of volts. Using resistance type fan
controls reduce the 12 volts to 5 to 7 volts by wasting the rest of the
voltage in heat. More heat is not what I want, and low power draw from the
power supply is smarter too.

Hooked up to the test station. There's NetStumbler, sniffing out the
neighborhood wireless access points.

Surplus Computers was the source of this wireless keyboard and remote.

The interface is old standard PS/2 keyboard & mouse. I took a chance buying
this, to my surprise all of the basic functions worked with no drivers
installed. For all I know, there are no Windows XP drivers for this board.

Stolen from Highspeed PC - LEDs and a switch mounted directly to header
plugs.

This is the first picture of the 8" touch screen monitor.. It's shown here
displaying 'Media Car", a front end for auto related software.

Media Car's MP3 Player. I loaded 11gigs of MP3s, about 2300, on the
computer. All of the buttons & sliders work by touch. The touch screen is
interfaced on USB.

The GPS button brings up Microsoft Streets & Trips. 2005, the software that
included the USB GPS receiver.

Mounted the hard drive to the case, there are screws through the case into
the drive. This was the first time I could actually close the case with it
running and not get too hot.

The fan bay detail.

Up and running, enclosed,

I/O shield-grill. - First thought was to cut a custom plate from perforated
steel.Lacking the precision tools and patience to accomplish that, I notched the
lid of the box to fit the stock plate.

The power plug was installed to the left of the shield. It snaps in. Putting
washers under the threaded nuts for the VGA, Serial and printer ports secure
the shield.

Airflow & Hard drive. Replacing the laptop hard drive with a 100g full sized
drive boosted the performance. During this phase of construction the
computer is operational as a Windows Home Server. The 7200 RPM drive gave
better results using WHS.

The fan is a single 12v 35mm fan that is plugged into the 5 volt line
intended for a floppy drive. Whit the lid closed and the rear shield in
place the computer runs at a decent temperature.
Fan is mounted to a piece of perforated steel screen.

Still needed:
Secure the lid.
fabricate mounting tabs.
Find the perfect front end software - trying fuser-something. Media Car is
slow to load. Is it the sheer number of mp3s?
Install in vehicle - 1999 Ford F150
To be continued . .