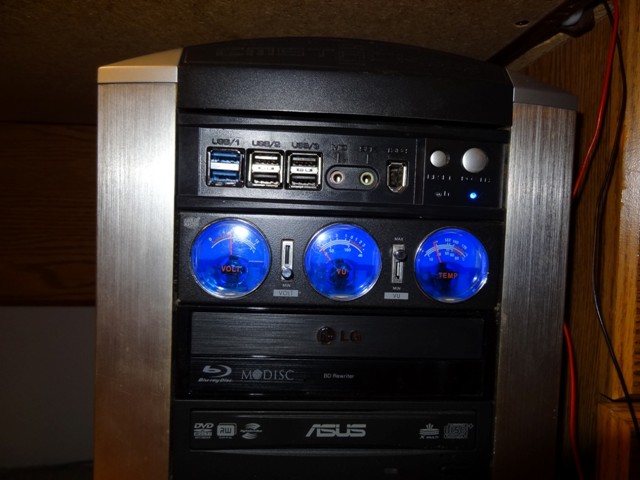
Adding Front Panel USB3 to the Cooler Master CM STC-T01 Stacker Case
I have been using this tower case since 2005 and it has held every computer part and accessory that I needed or didn't need. I've never seen another tower case that fits the bill - though computing power and accessory peripherals have changed since the original this case remains a classic. Only in the latest build did I meet a bump in the progress - the new motherboard has USB3 like I wanted. There are USB3 ports on the back for the more permanent attachments and a header for 2 more ports. I could buy a slot cover to add the ports but I wanted to be future proof and bring them up front. Buy a front panel with the USB3 ports or modify. The choice is obvious.
UPDATE - built a new front panel to accommodate USB3, USB2 and unlike this - HD Audio. Check it out. CM Stacker USB3 front panel replacement
The stock front panel comes out just like a bay filler.
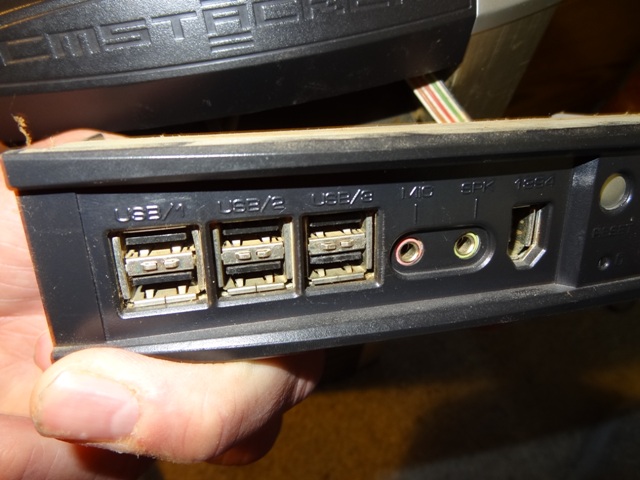
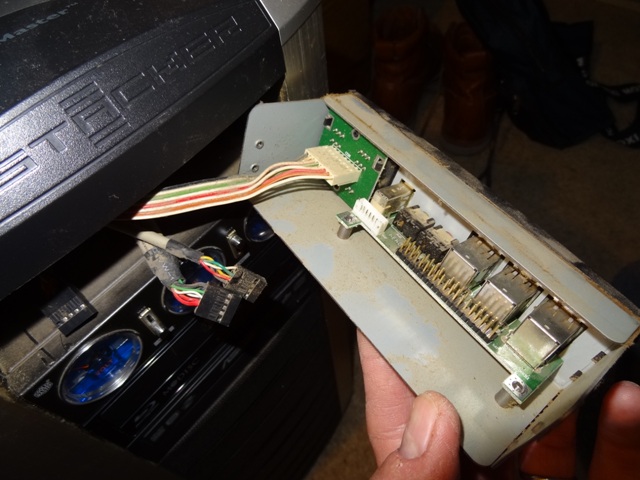
The connections that go to the motherboard are detachable. Once disconnected
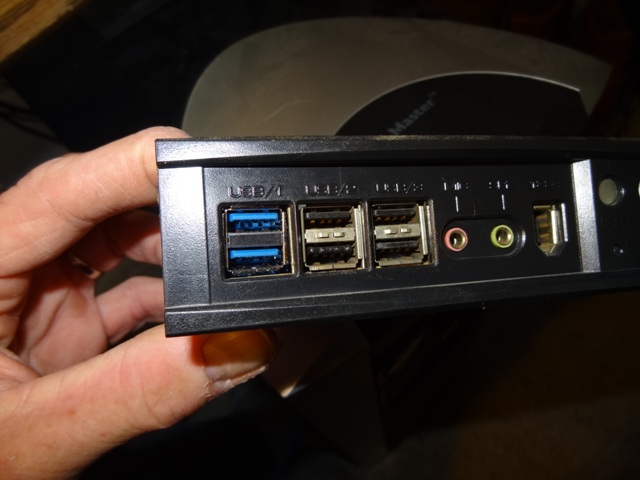
I removed the unused jumper for USB/1 and the Firewire port. Sheesh,
Firewire.
I have not had a motherboard where I used 6 front panel USB2 ports ever. I
once considered wiring up the unused ports to charge the cellphone but never
went there. It's been covered with a piece of tape to remind me of it's dead
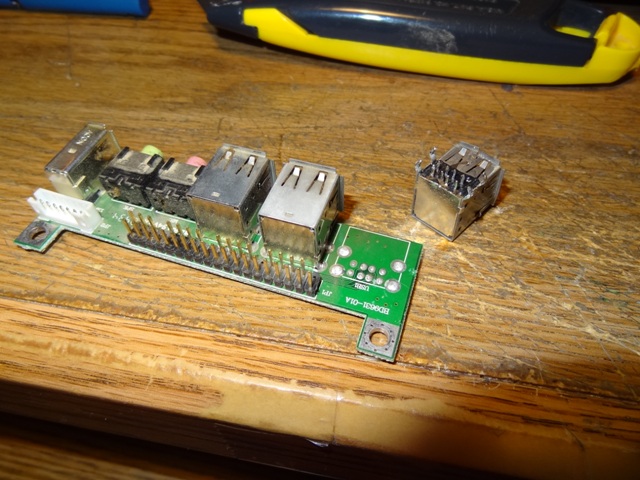
existence. Here is the circuit board removed from the panel, and the soon to
be added USB3 ports.
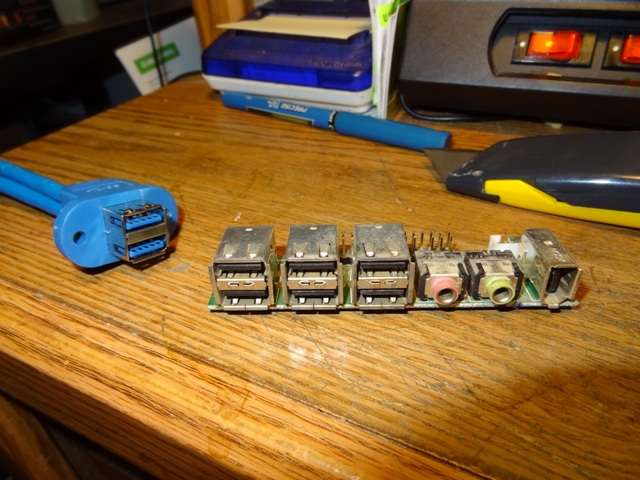
Unsolder one old USB port.
Finding a replacement that could fit in the panel took some searching on
eBay, Newegg, Brando and other sites. First choice was just a port with the
two connectors in a vertical style that matched the case's USB2 ports.
Didn't find.
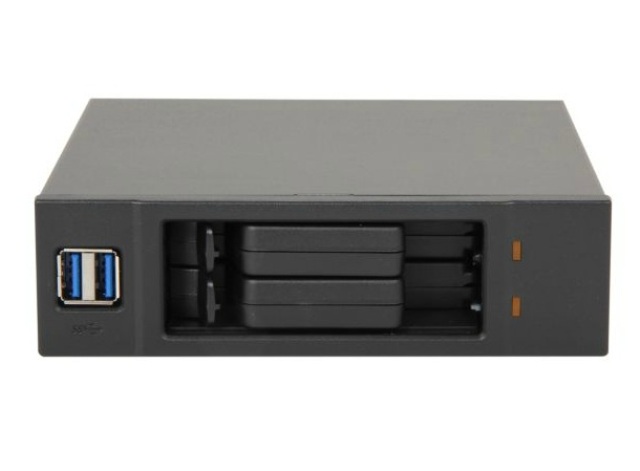
Newegg had this Rosewill RDRD-11005
accessory that offers up 2 2.5" HDD bays and a pair of USB3 ports - in
the style I was seeking. I had a Newegg gift card that covered the cost so
it was ordered.
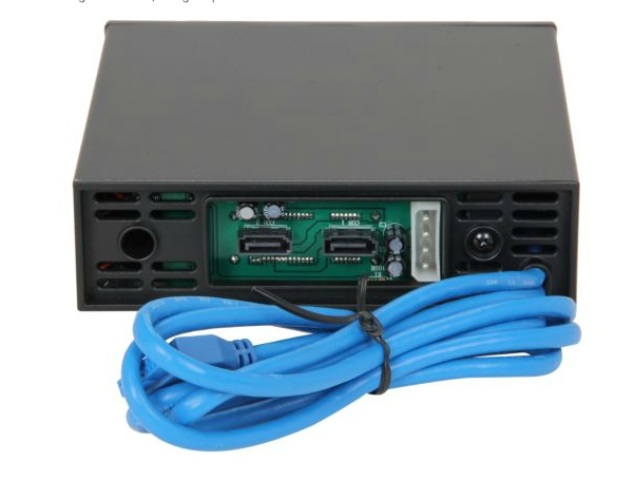
Disassembling the drive bay without totally destroying it was challenging.
Sorry - no pictures of the surgery, I say that there are 4 slots on the
front plastic bezel that are gripped by tabs from the metal case. Two tabs
on the sides unsnapped ok, I got the top & bottom released by taking out the
drive sleds and bending the tabs. Two screws on the back allow that bezel
off, releasing the USB3 cable so it can be taken out. Two screws hold the
ports to the inside of the front bezel.
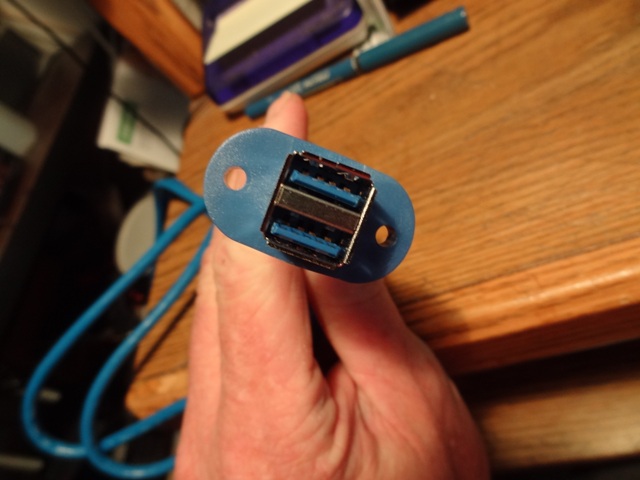
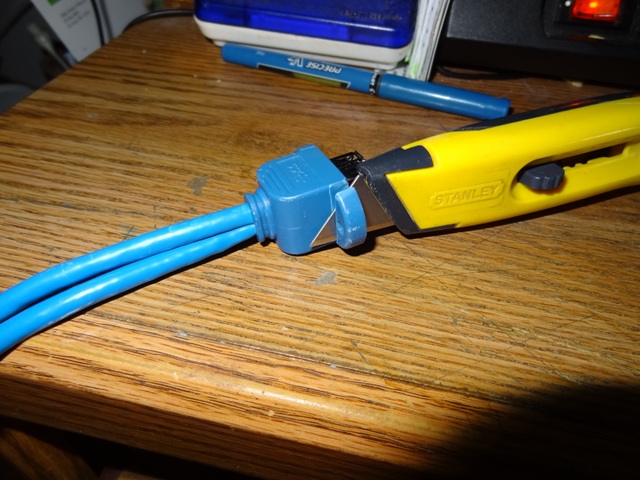
Slice off the mounting tabs.
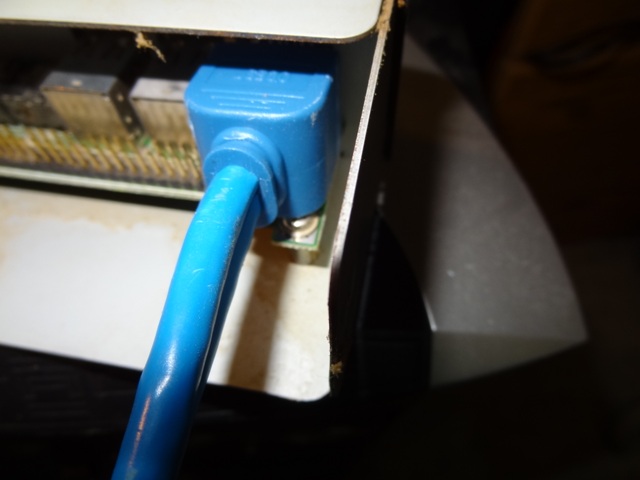
A mockup shows that it fits real well and blends in perfect.
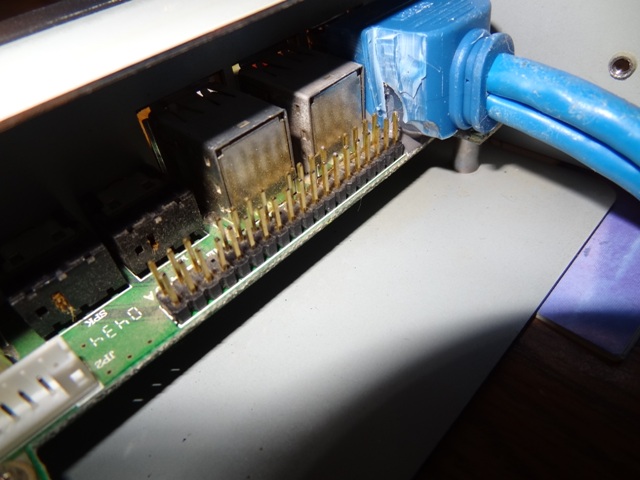
One of the screws that mount the circuit board puts a tilt on the connector.
Some more trimming fixed the tilt issue. Mix up some JB Weld and stick the
USB3 ports to the circuit board.
To keep the ports aligned I filled all 6 ports with thumb drives and clamped
it together with binder clips. Nothing was hooked up to the motherboard at
the time.

A little bit of shift was permanently adhered. Shift Happens. Functionality
is 100%. Bring on the USB3 goodness. Front panel audio and that firewire
port are not used, two more opportunities to expand.